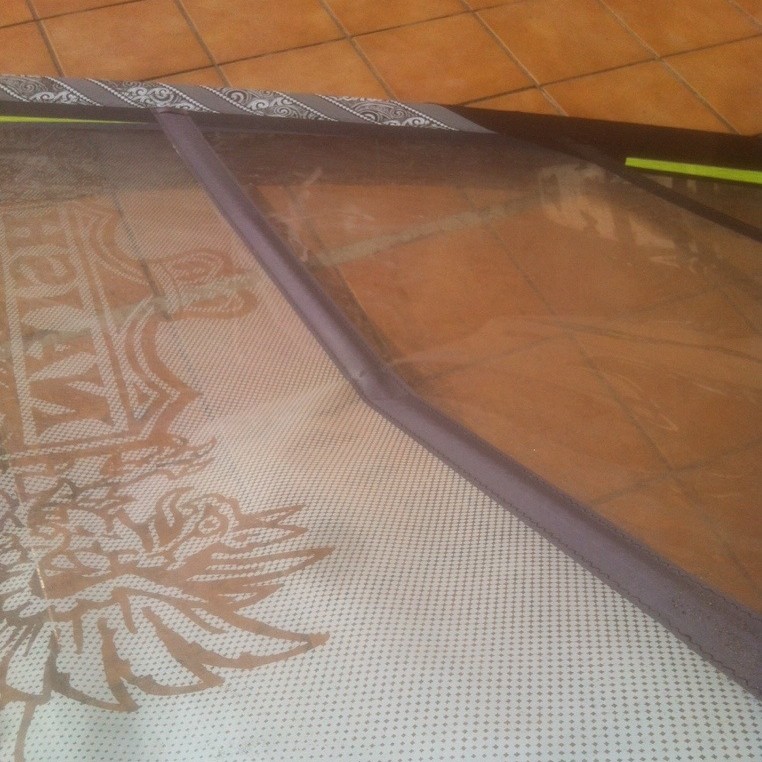
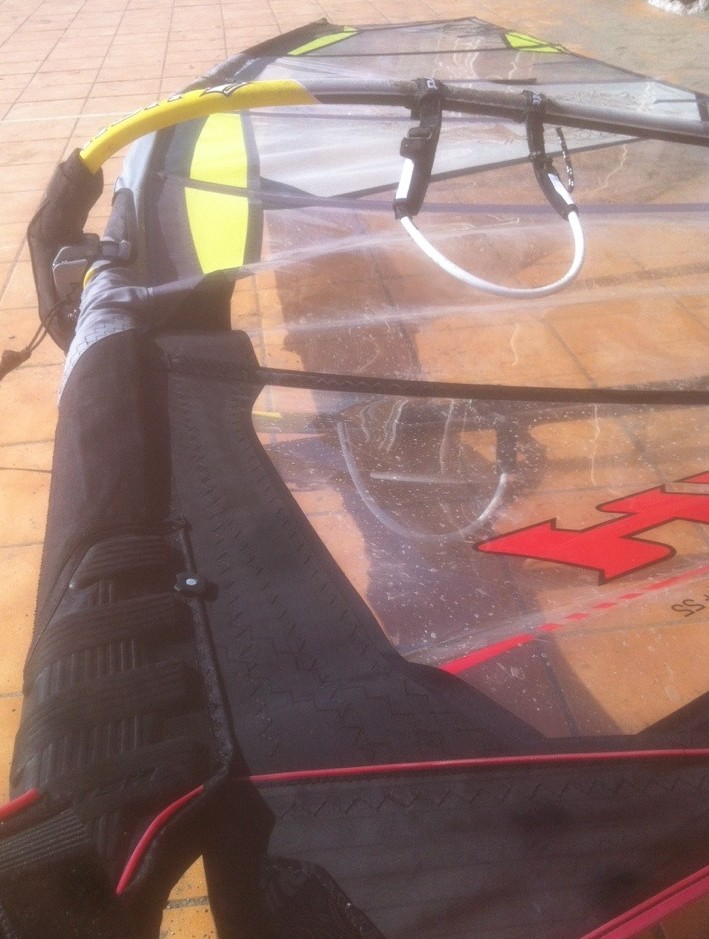
Windsurfing battens nowadays are pretty resistant. The materials that are used make them more lightweight but at the expense of them becoming more fragile. Normally the fragility is no problem as we rarely subject them to forces great enough to snap the battens. However, if we fall on the sail or have a wave break on it, there is a large possibility of a batten snapping.
Usually the batten will snap but leave the sleeve it is in intact. Since we can’t just pull out the entire batten (since they are in two pieces) we need a technique to replace the batten. Here is a step by step sequence of how this is done.
1. First of all, make sure you have a batten of the same length as the previous one.
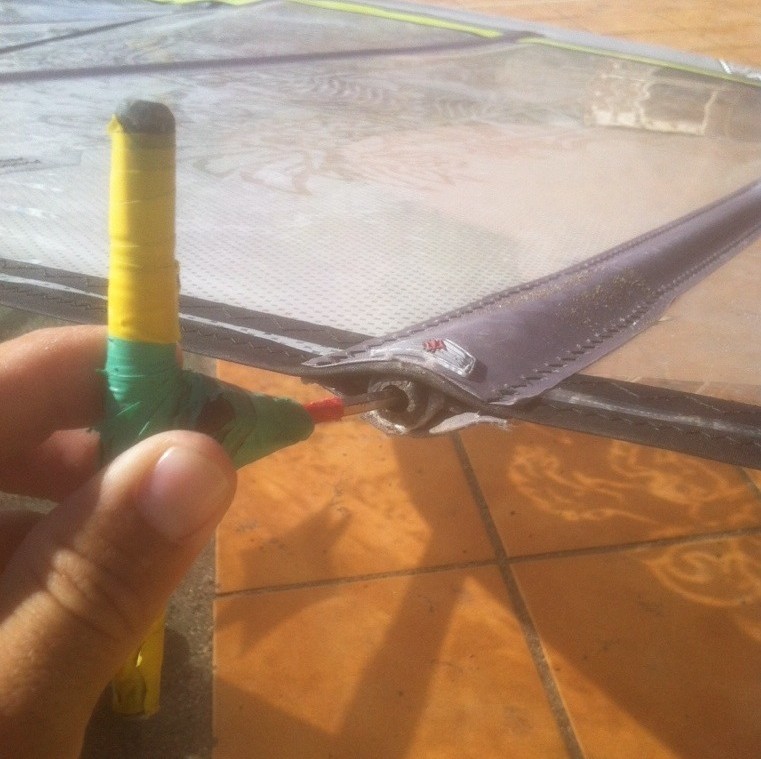
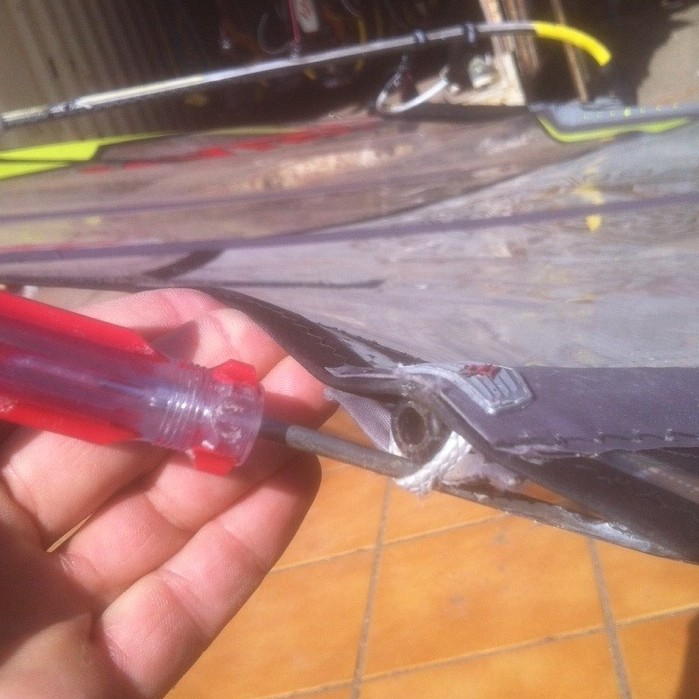
2. Loosen the stopper that keeps the batten in the sleeve and take it out. (the stoppers may vary from brand to brand, this section is just an indication)
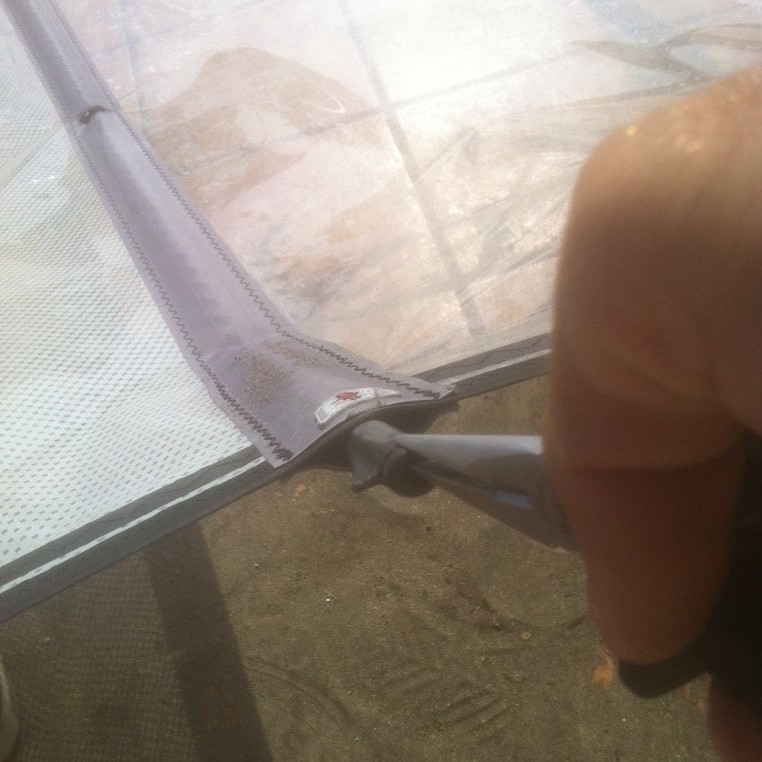
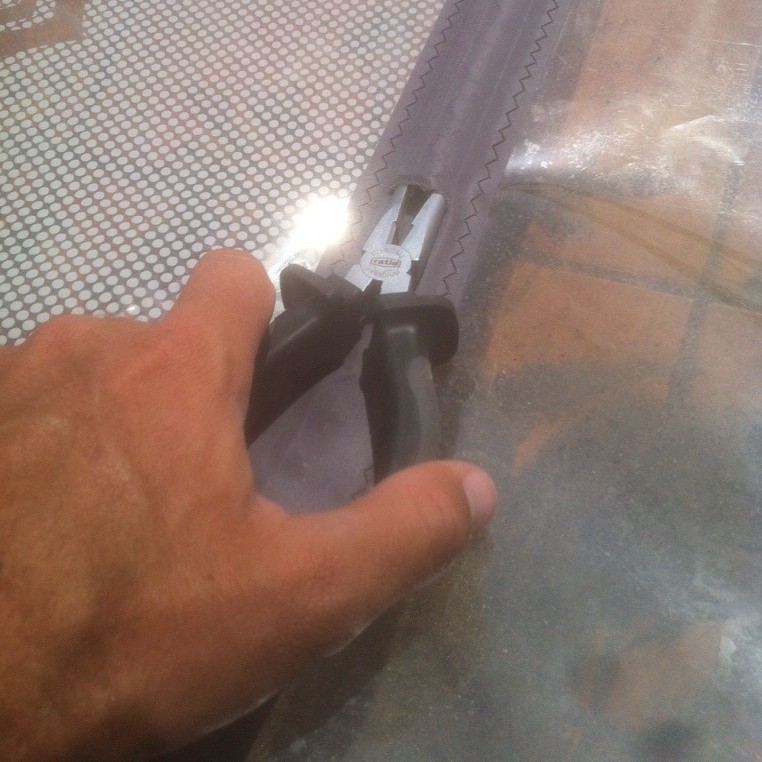
3. Then pull out the batten end with some pliers.
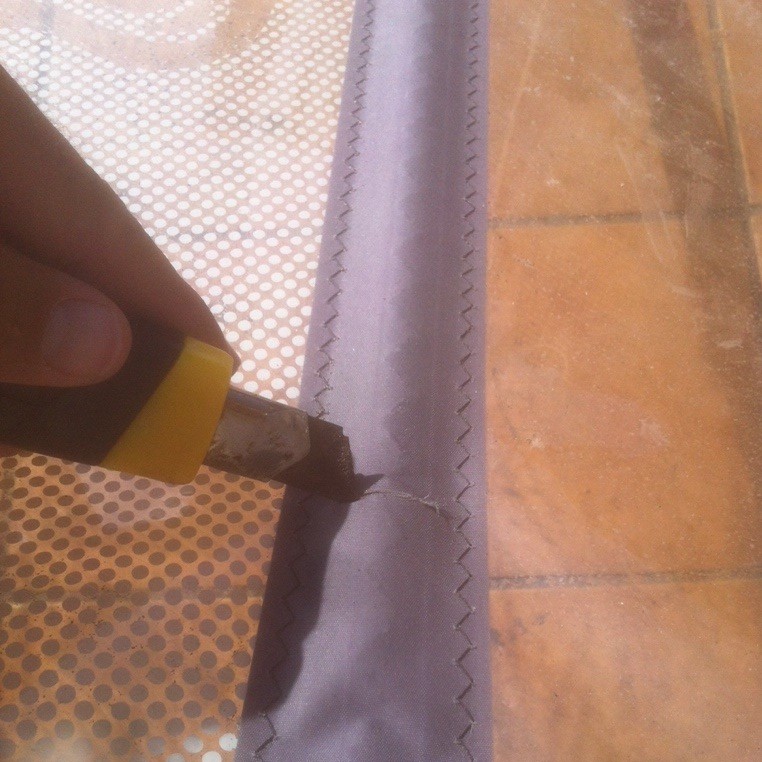
4. Take a cutter and cut a slit in the pocket just above the end of the broken piece.
5. Before trying to pull out the second batten piece, release the tension on the downhaul to make the pulling out easier.
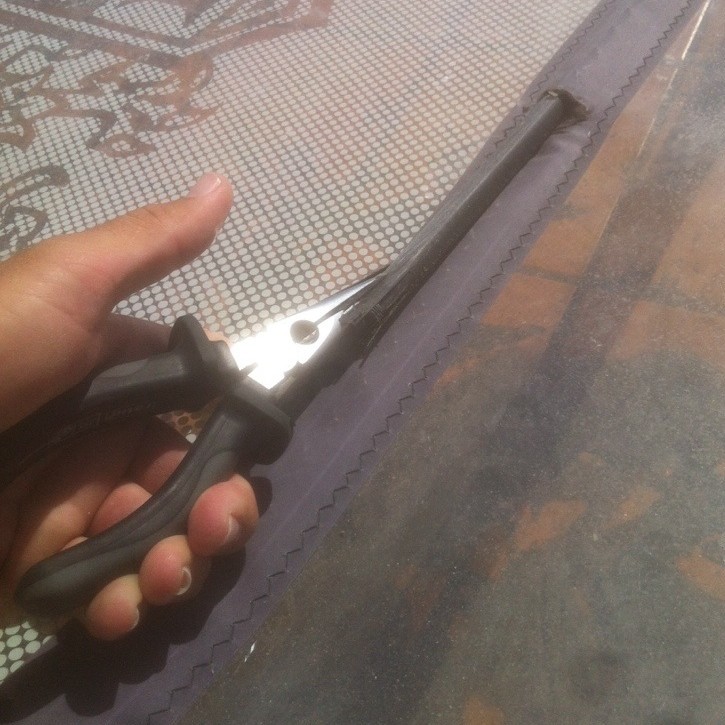
6. Take the pliers and fumble the broken batten piece out through the cut in the sleeve. This is easier if you have someone holding on to the mast while you pull with the pliers.
7. Insert the new batten, taking care not to push the end back out through the slit you cut in the sleeve.
8. Replace the batten stopper.
I hope this guide has given you an idea of how to replace a sail batten for your particular sail in the future.

