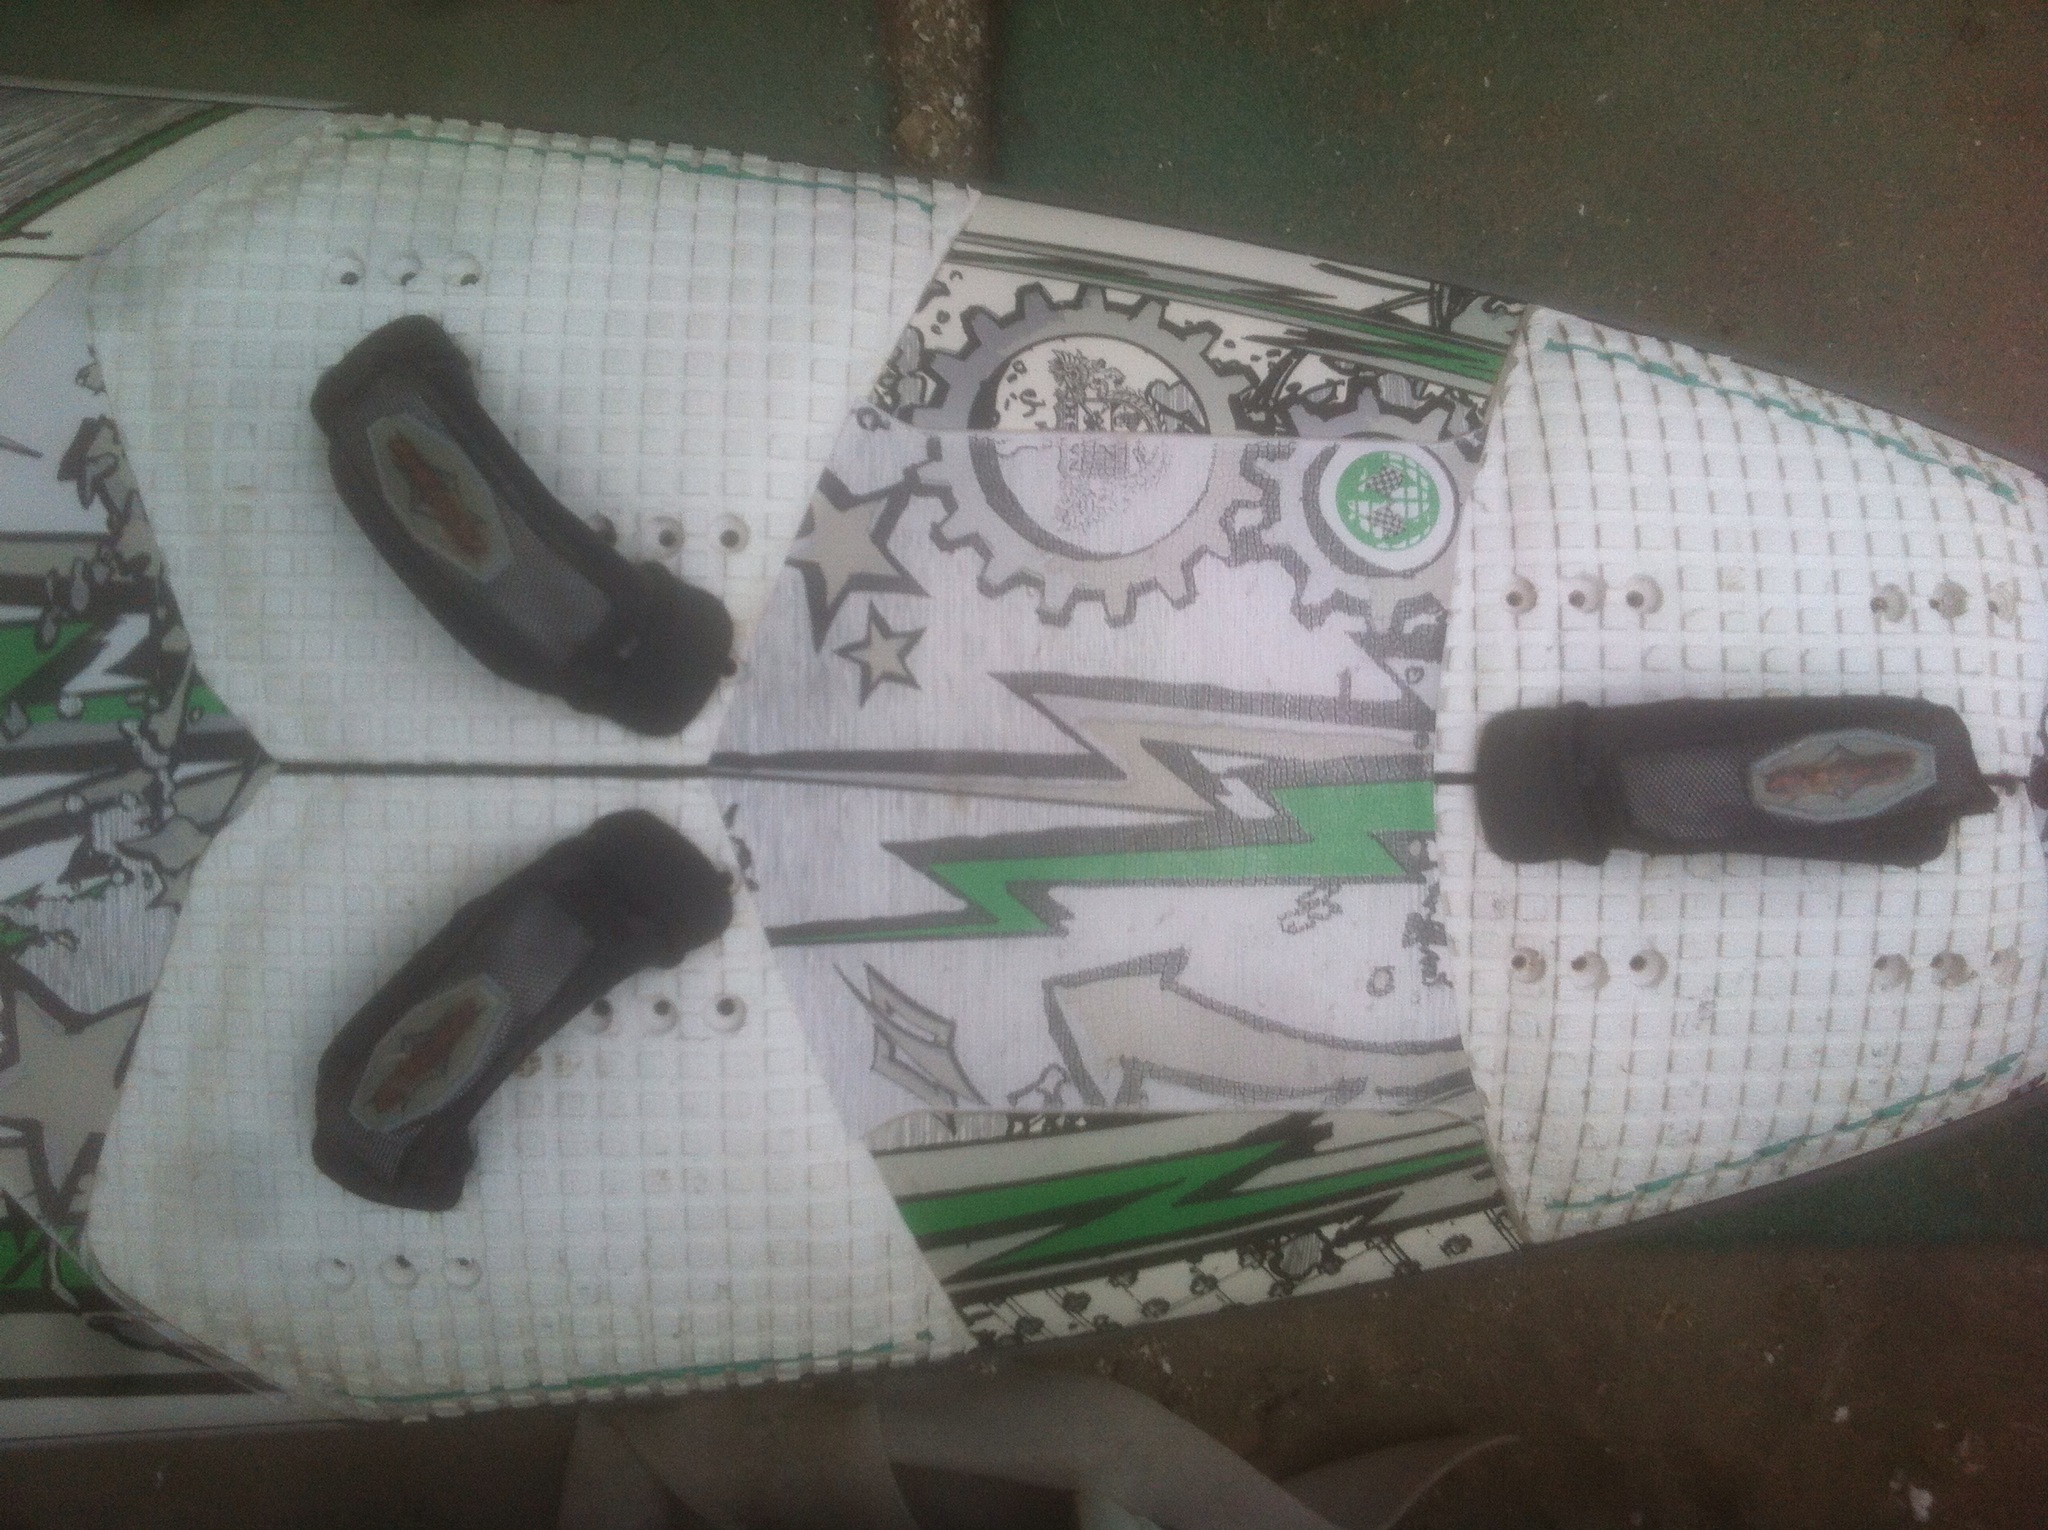
Where should the foot-straps go?
Most people who get a new board will be stuck when it comes to screwing on the foot straps. There are plenty of options to choose from but the correct one depends on our level and the conditions.
First steps
When you start with the foot straps I recommend putting them as far forward as possible. Since we are doing the transition from having our feet near the mast foot to putting the feet into the straps further back, we want to make the difference between these two stances as similar as possible.
Big boards (slow planing)
In the initial phases of windsurfing in the straps we will still be standing pretty upright even while planing. For this case it is good to have the straps pretty centred so as to keep the pressure into the board more over where most of the volume is. Planing slowly with the straps close to the rails will only sink the boards side and slow you down even more.
Big boards (fast planing)
As we pick up speed, the fin will start to act as a foil and begin to lift the board out of the water which then tilts downwind. If we have the feet in the foot straps close to the centre of the board we will not be able to avoid this. Therefore, as we begin to achieve high speeds consistently (and have the board lift up every now and then) we know we have to put the foot straps closer to the rail.
Just a small note here: when you get into the straps in this set up, try to do so before you start planing. The straps on the side will force out feet to be close to the water and it will happen every now and then that the heel catches the water. The faster you are going, the more it will trip you up and the more likely you will have a pretty little catapult.
Small boards
Usually the small boards are used in choppy conditions or in waves. Personally I have always felt more control over the board with the straps closer to the centre in these situations. Especially when wave riding where you have to put pressure on the downwind rail while in the straps of the upwind rail.
More control
For more control ver the board in general i recommend putting the straps further apart. This creates a large lever for us to control the board with our feet.
I hope this has given you a bit of a better insight as to where you want to put the foot straps. Naturally our body size and weight will have an impact on where we will feel most comfortable and in most control over our board so you will have to try out different options to see what works for you. However, these guidelines should give you a better idea of what you need to change instead of shooting in the dark. For more tips and tricks from Boardseeker Magazine and pro riders check out their page here.
Let me know how you get along in the comments or if there is any other observation you think should be included.
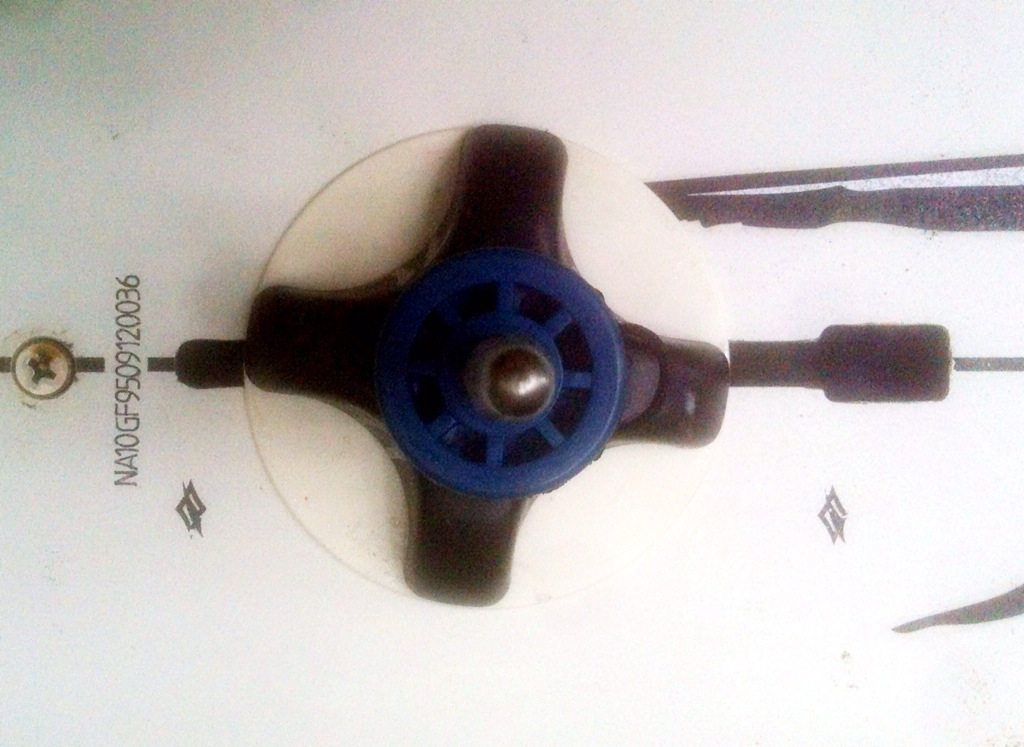
Where should the mast foot go?
This question has and is plaguing a lot of intermediate level windsurfers. It gets a lot of debate thrown at it and is often given as the reason for some maneuvers not working or the windsurfing experience being unpleasant. Let me try to shed some light on the matter.
There are mainly two reasons for which we might put the mast-foot further forward or backward. Both are related to board handling. Here they are:
1. Beginner to intermediate planing: up until the point where we are just getting the hang of planing, the mast-foot position will determine how easy it will be for is to bear away from the wind and how much effort we have to put into going on a closed haul. The further forward the mast-foot is, the further forward the whole sail will be, and with it the sails pressure point. By moving the mast foot forward we are in essence moving the sails pressure point away from the fins (or skegs) pressure point which makes it easier to bear away from the wind. This is a good trick for those who have trouble with the board turning into the wind when they get into the foot-straps.
2. Advanced (fast) planing: once we are planing at high speeds we will be at a level where we no longer have to make use of small adjustments to the mast-foot position in order to get going or feel comfortable while sailing. At that point we need to find the position which give the most speed and the most control for the conditions. When we position the mast-foot towards the back we are able to get more speed (at least according to slalom racers, I still haven’t found the physical explanation for this) whilst the further forward we position the mast foot, the more control we have over the board as the pressure of the sail is transferred into the board further forward, keeping the nose down. Therefore, on flat water the mast-foot will do better more towards te back whereas in choppy conditions, putting the mast-foot further forward will provide us with more control.
We shouldn’t forget that these are only guidelines for gaining more control over the kit when sailing. Our size will also have an impact on where we will feel the most comfortable so try out different positions for each sail size in different water conditions and see which is the one that offers you the most enjoyable windsurfing experience.
I hope this helped. Let me know your experiences with testing various mast-moot positions.
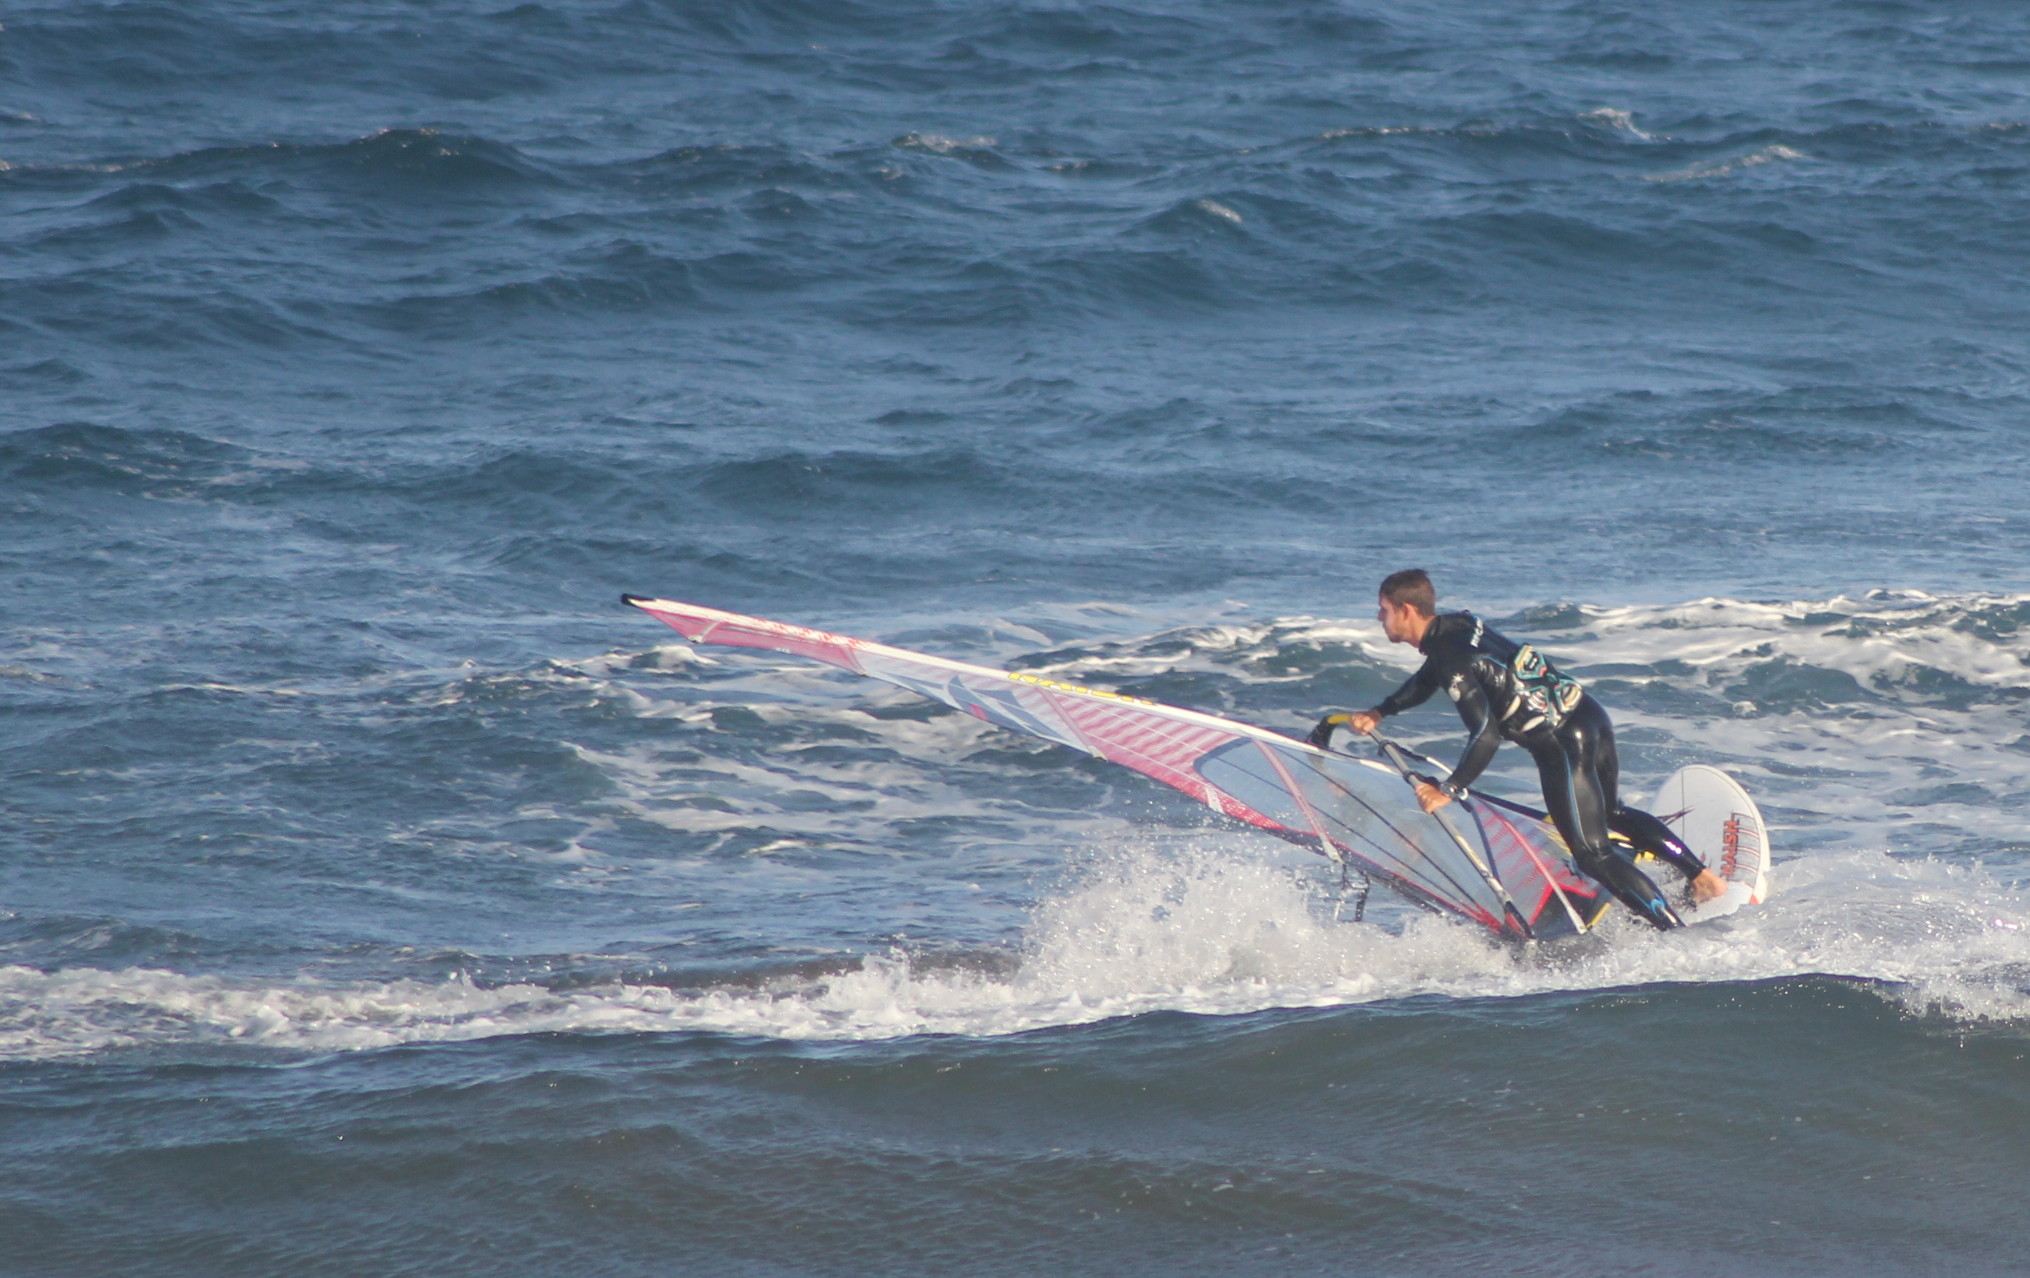
How to Windsurf – the Planing 360
The oldest person I have seen learning the planing 360 is an 80 year old Swede. Just in case anyone was wondering whether they are getting too old to learn new manoeuvres…
In essence, the planing 360 is a transition from a planing gybe into a helicopter-tack that is backed out of.
Here is the step by step breakdown:
- Start off planing at speed.
- Take the back foot out of the foot-strap (as you get more advanced you can attempt to leave it in the foot-strap throughout the manoeuvre)
- Put pressure on the downwind rail with the back foot to start bearing away from the wind. Make sure you transfer your weight over the front foot..
- As you bear away, sheet in the sail, keep the front arm straight and lean the sail to the back of the board.
- As we turn through the downwind course, the power should start to increase on the other side of the sail. At this point we will probably have to move some of our body weight onto the back hand to be able to hold the power that increases in the sail.
- Keeping our front arm straight and using the back hand to control the power of the wind in the sail we keep pushing the clew to the back of the board to make it luff up into the wind again.
- Once it has gone through the beam reach we must continue pushing the clew to the wind instead of to the back of the board, mainly for our stability. If we were to continue pushing the clew to the back we will end up with no wind in the sail and just falling in. As we push the clew towards the wind and away from the back of the board it is important to get our weight on the front foot to avoid the board sinking and shooting out from under us.
- Once the board has turned back into the wind (i.e.. the mast has come over the board again) it is time to sheet in again to push the board back onto the original direction. At this point it is important to push into the board horizontally as we sheet in to ensure we don’t just end up in a water-start position but upright and can start planing again as quickly as possible.
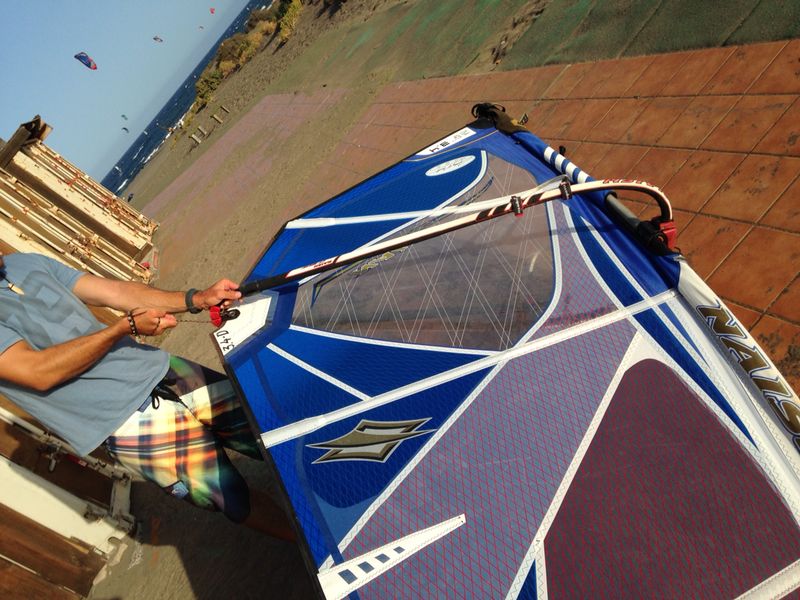
How to Rig a Windsurf Sail
I often see a lot of people rigging and de-rigging their sails at the Surf Center, and every now and then I see someone who has very little idea of what they are doing. In this post I aim to provide a step-by-step guide for those who are a little lost.
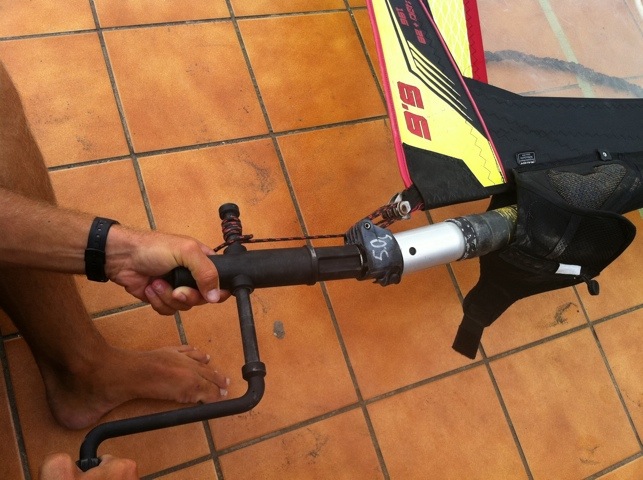
How to Tense the Down-haul Best
Pulling on the downhaul to trim the sail can be most annoying part of rigging the sail. The two main factors that make this part of windsurfing unpleasant are the strain on the back and the trouble pulling the downhaul rope easily.
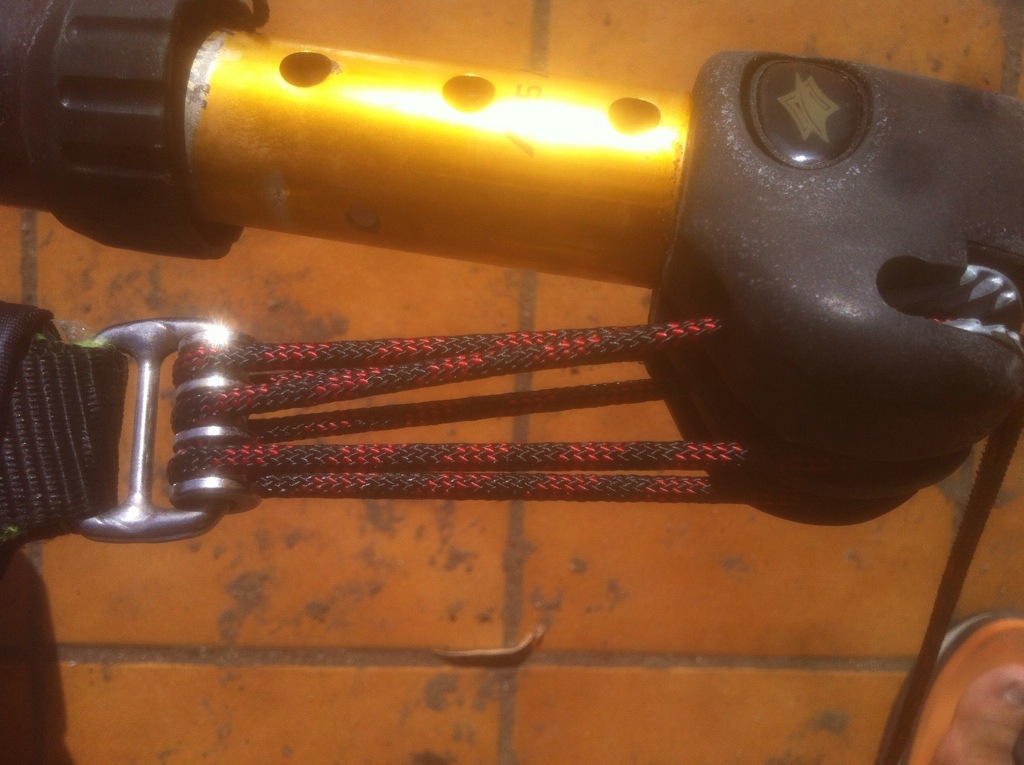
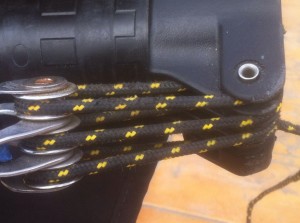
The order of the downhaul lines
Sails used to have just a hole at the bottom next to the mast sleeve through which one would attach a downhaul pulley hook which allowed for the lines to run perpendicularly from the mast base to the sail.
For a few years this system was changed to the pulley set was in line with the sail but 90° to the mast base. This has been changed back to the original orientation by some manufacturers.
I’ve had a lot of people asking me how to sort the downhaul lines on their sail as it can get confusing since the mast base and the pulleys of the sail are usually at 90 degrees to each other meaning that the lines will most likely end up at various angles or twisted. read more…
How to Screw on the Foot-Straps
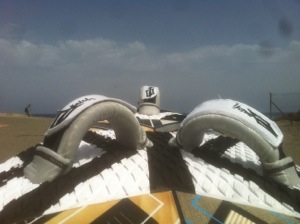
I wrote this post on past blog and thought I might as well post it here again. Sharing this occurred to me when I was checking a large number of boards at the Surf Center to make sure they were all good to be rented out again. Part of this check consisted of making sure that the foot-straps we screwed on tightly. Most people will not do this small change in technique as they usually only have to screw on one, maybe two, sets of foot-straps at a time and therefore will mot feel the consequences of doing it wrong. The way people usually screw on foot-straps is by turning the wrist. The wrist is pretty much the weakest part of the arm and with a long streak of continuous use it will get very sore and drag into the next days. Instead, rotate your arm around your shoulder. The benefit of this is threefold
- We will get less tired as we are not using only the forearm but the entire arm.
- We can screw the screw from jumping out of the slot as we can apply all our bodyweight onto it.
- Our shoulders will not hurt after spending a lot of time screwing the foot-straps. This would not be the case for our forearms.
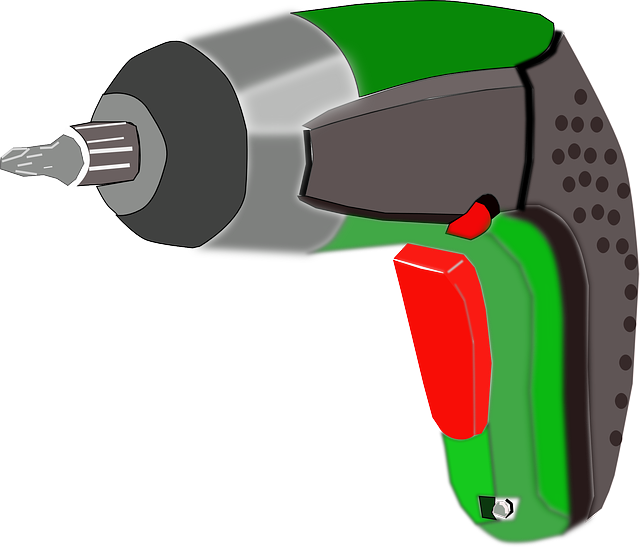
One more thing: Electrical screwdrivers are not a good idea to use as the screw holes are usually made out of plastic. An electrical screwdriver might rotate too fast and the heat from the fast rotation will cause the screw hole windings to go soft meaning they will be less resistant. This can result in the the foot-strap ripping out of the board on the water.
Which Up-haul Rope to Use
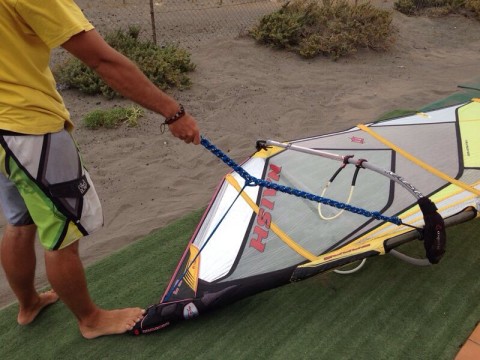
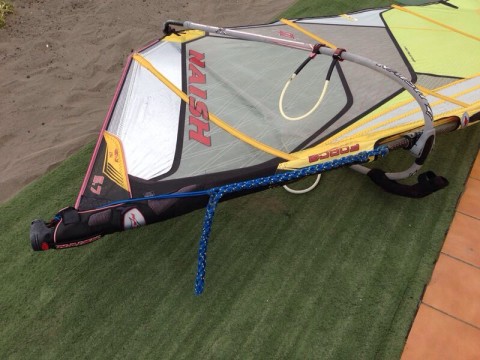
Depending on your level you should be using one type of up-haul or another. In the initial stages, when we rely a lot on the up-haul to maintain our stability on the board when lifting the sail out of the water, we need a rope that is not elastic. If we lift the sail up with and elastic rope, the control over the sail will be greatly reduced as when we pull the sail towards us, some of that energy is lost in the elasticity of the rope.
Beginner Up-Haul
Advanced Up-Haul
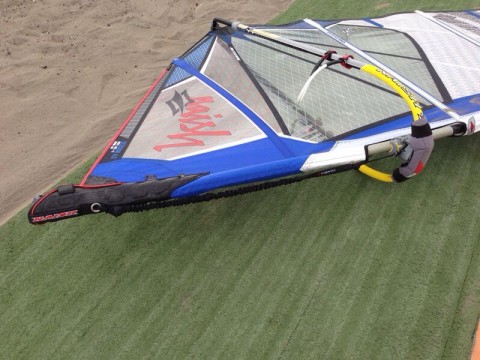
The downside to this is that when we lift the sail we don’t have a direct response of the sail. This means that when we start to lift the sail, the rope stretches first and then starts to lift the sail out of the water. If as we are lifting up the sail, a bit of chop hits us, or a small wave, or we just lose our balance a little bit, we have a harder time to stabilise ourselves with the weight of the sail because as we pull, we first stretch the rope instead of the rope being pulled taught right away and helping us catch our balance again.
Summary
Until the water-start use a non-elastic rope as it will provide you with more control over the sail when hauling it up. After learning the water-start you should get an elastic one just in case you need it.
How to Windsurf – The Duck Gybe
The duck gybe is one of the easiest extensions to our free-ride repertoire as it shows class without being very difficult. In essence we just take advantage of the relative wind being zero on the running course in order to flip the sail around the clew. Let me go into the step by step:
- Grab the boom a little bit further back with the back hand
- Bear away like you would for the power-gybe
- Once you are nearly on the running course (when your relative wind speed is 0) instead of releasing the back hand to shift the sail, release the front hand and simultaneously bring the clew of the sail forward with the back hand
- Move the front hand to the back of the boom, closer to the clew than the back hand so that you can let go of the back hand
- The sail should now already be with the mast on the correct side only that we are still holding on to it on the old side of the boom
- The back hand (now to be the front hand) grabs the boom on the new side
- The old front hand comes on to the new side of the sail and grabs the boom further forward than the previous hand
- The new front hand grabs the boom close to the mast and we prepare to shift our feet
- We Finnish positioning our feet correctly as we start to catch wind again on the new side
- Push your hips forward and lean back with your shoulders to continue planing on the new course
The idea is to do all this sequence of steps with no wind in the sail. For this we must be going as fast as the wind so that the relative wind in zero. You can start practicing this manoeuvre by just bearing away onto a running course, shifting the sail around the clew and then continuing to shift it around the mast so that we can continue sailing into the same direction. This will allow you to focus only on the sail control and add the foot position and weight transfer once the sail handling is under control.
One last tip:
Don’t let the mast touch the water as it will get stuck in the water, make the kit come to a sudden halt and send you flying forwards, possibly getting hurt in the process. I call this the involuntary superman.
