Why you Should Hire an Instructor
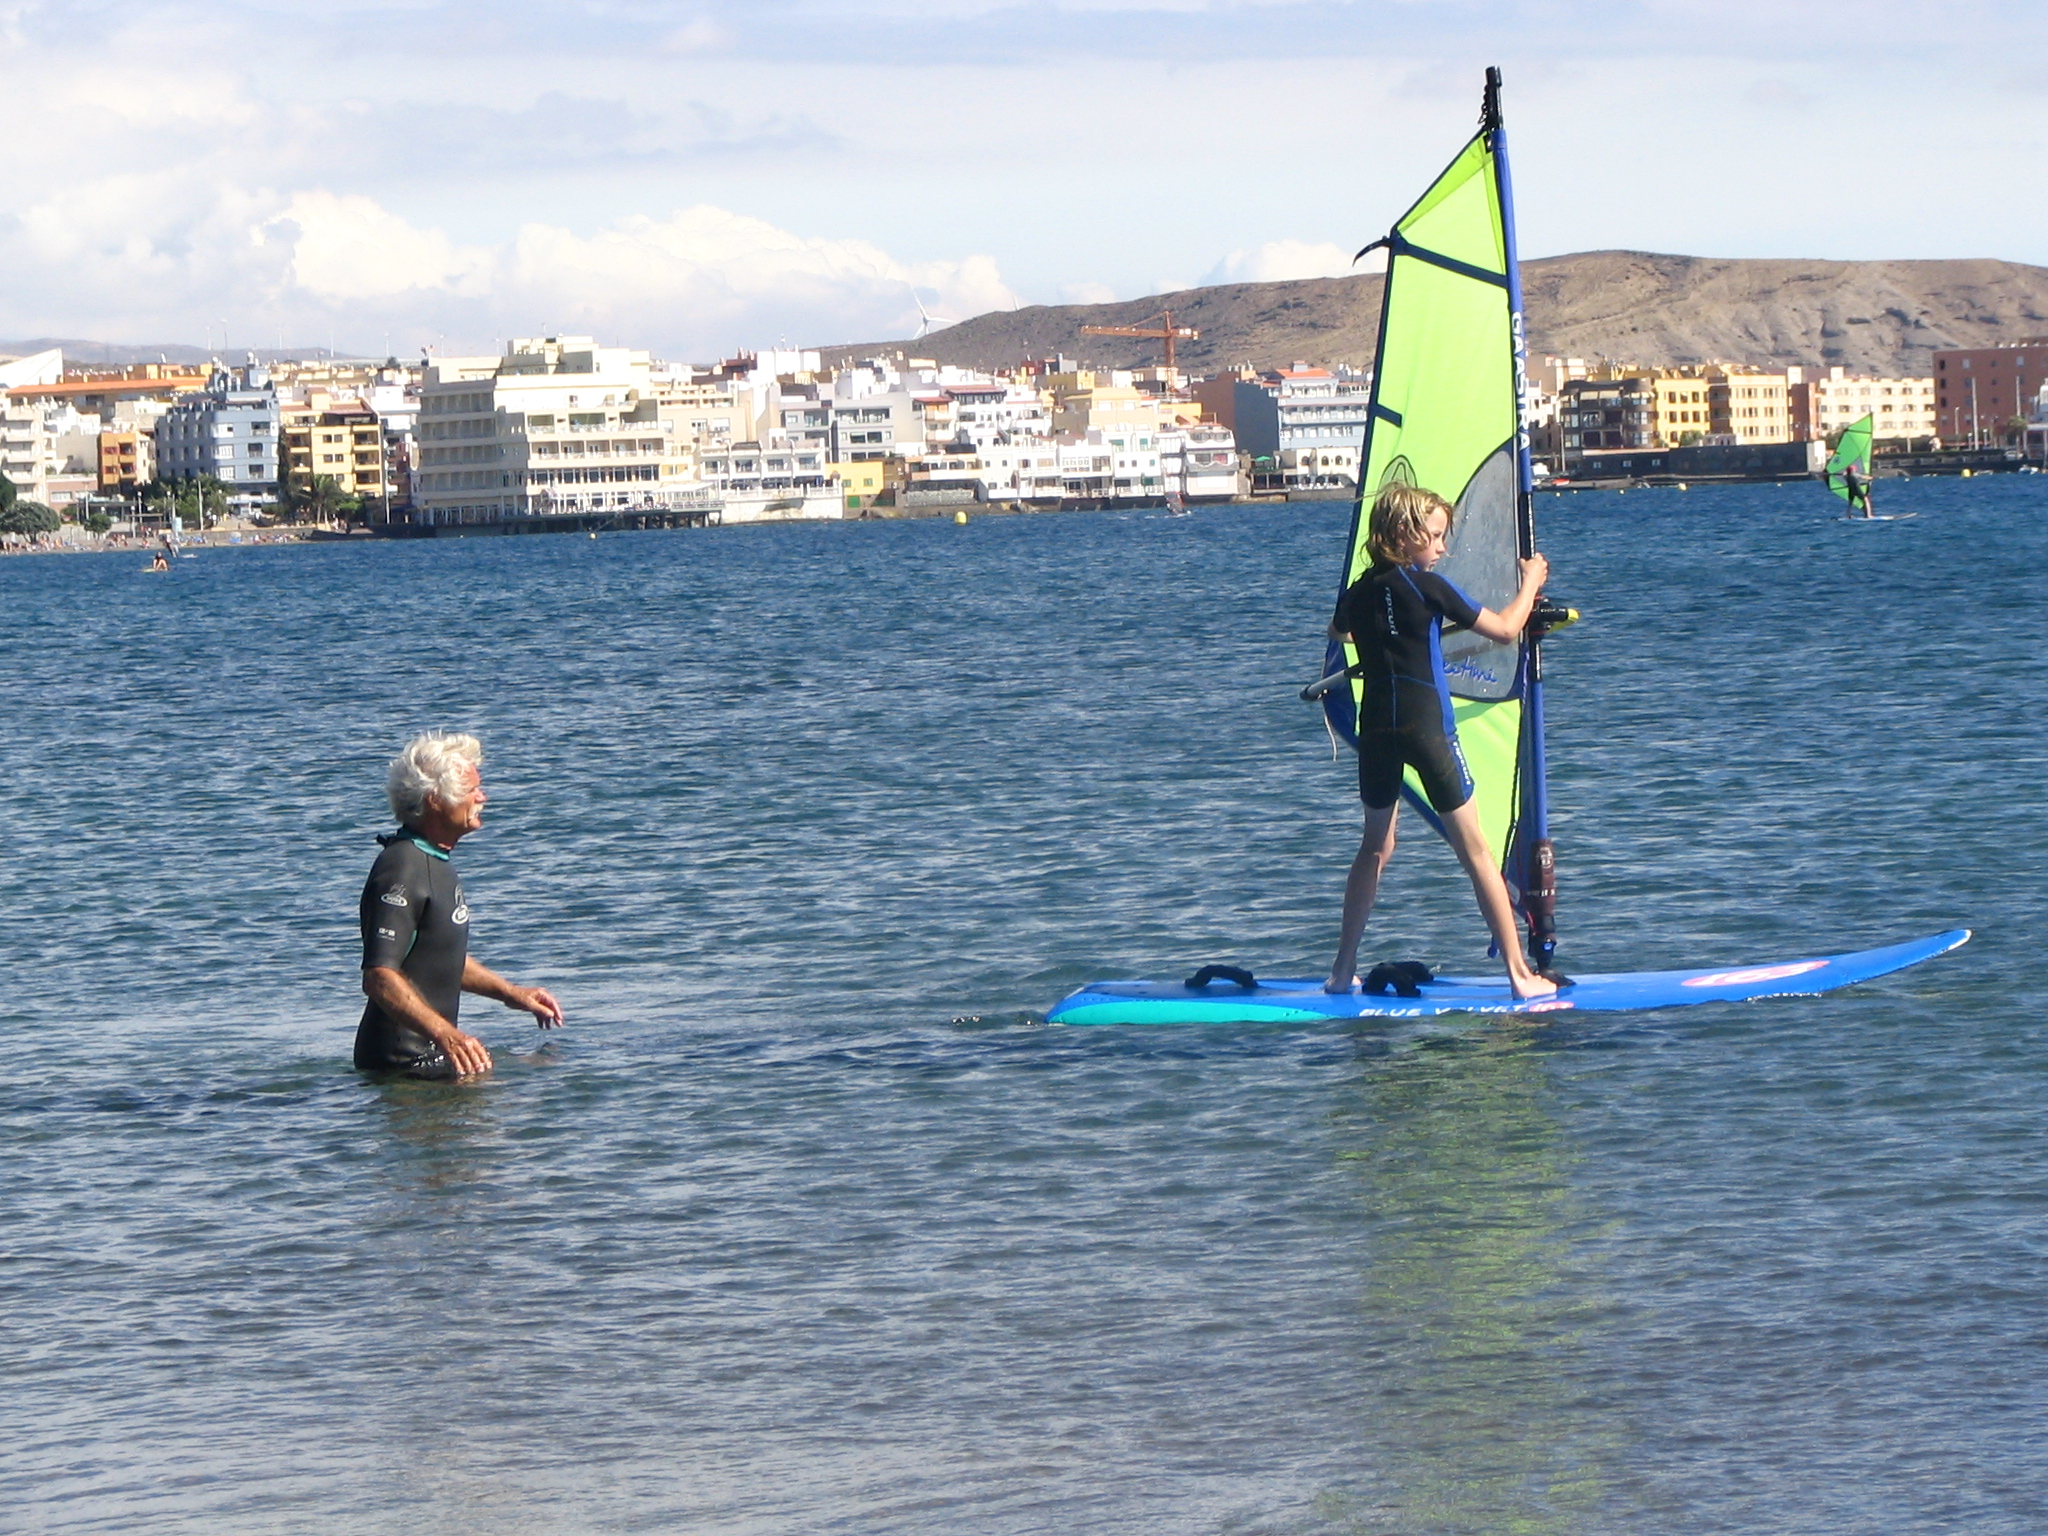
There are many reasons why one might want an instructor to teach you how to windsurf. There are a coupe of reasons for which I believe you should definitely hire a windsurf instructor, especially in the initial stages of your learning. Windsurfing is an extremely technical sport in which a lot of details can be gotten wrong and internalized, hindering our progress.
Correction
As I just mentioned, learning how to windsurf on your own can be detrimental to your progress as there are a large number of things that you can do wrong. Elements such as keeping the front arm straight, avoiding the monkey stance or bending our back to pull the sail out of the water are crucial to get right from the first lesson. They are also elements which are very quickly forgotten which an instructor will detect as they occur and correct.
Tailored progress
While learning you will get loads of well intended advice from your friends. However, they might not necessarily know which your next learning step should be. Depending on the spot you are windsurfing in you might be better off learning the beachstart before learning to plane or using the harness. I have heard of kids in Hawaii or Isla Margarita that have skipped the gybe entirely and jumped straight to the front loop (although this is probably just your standard adolescent “getting ahead of ourselves” :)).
Aside from knowing which your next step on the learning ladder should be, an instructor will be able to tell you if you are even ready for the next step. Countless times I have had students wanting to learn to waterstart when the beachstart was not solid, or wanting to learn how to carve-gybe when they weren’t planing properly.
Safety
We are talking about an extreme sport in a potentially dangerous environment. Having someone next to you while you are trying out a new maneuver is a very sensible thing to do. Many times my task for the hours lesson would be to “keep company” to students who did not feel safe at a new spot. I would accompany them with kit that was a little bit easier to handle so that if they grew tired by fighting for a waterstart in non-flat water, they could take over my gear and up-haul to sail back to the beach safely without being washed onto the rocks by the current.
Also, arriving at a new spot that is more challenging than, for example flat water, might give you a hard time. You can save yourself lots of frustration by just getting someone to check out how you are coping with the conditions like shore break or gusty winds and give you a few crucial pointers on how to save your energy or improve your control over the kit, etc.
To conclude, a windsurf instructor is a very smart decision when wanting to learn a new maneuver, arriving at a new spot or going back on the water after a longer break to file at your technique. Hiring an expert will shorten your learning curve and solidify shaky elements of your technique.
The Problem With the Windsurfing Simulator
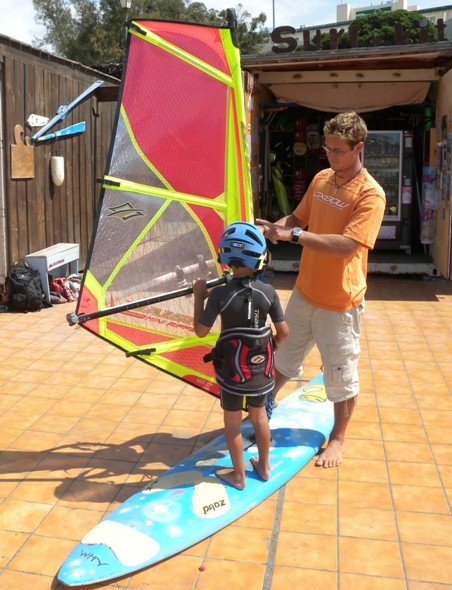
I have a bit of a problem with the simulator as it tends to get overused in my opinion. I completely agree that a student will have a better chance of succeeding after a few attempts in which the disturbance of the waves are taken out of the equation, but I also insist that this will only give a false (or at least inaccurate) representation of the reaction of the kit. I therefore think it should be used as little as possible and only to get the general feeling of the motion in place and then continue immediately on the water ie. the real world.
I have seem people take ages on the simulator, going through endless theory and future manoeuvres before the student has even had the chance to experience standing on the board in the water.
I have resorted to offering a few tips on the simulator and then offered the student to practice on the simulator without my supervision but this was usually in cases that I was booked up with lessons or in cases where there was took much wind/waves, such that the safety of the student would be put in jeopardy.
Another subject which annoys me is the wasting of time doing sail/board games or other no-wind activities. I am very skeptical of the actual benefits of these activities. Normally they are solutions to offering lessons without actually having wind and therefore having to provide entertainment for a group that has already paid for a course. To me this is a waste of time and the money of the students. Maybe I am just getting on my high horse here saying that the student is signing up for a windsurf course and all they are getting is a simulation of what the would do if there were wind.
I have indeed missed out on a number of lessons because there was not enough wind to teach whatever it was that the student wanted to learn. It’s a shame for the lost commission but it would not sit well with my conscience if I was asked to teach the tack for example and I took money for standing them on a simulator and pulling them around on it for an hour.
But ultimately what people want to do is windsurf and not just pretend to windsurf.
Let me know what you think.
The Windsurfing Simulator
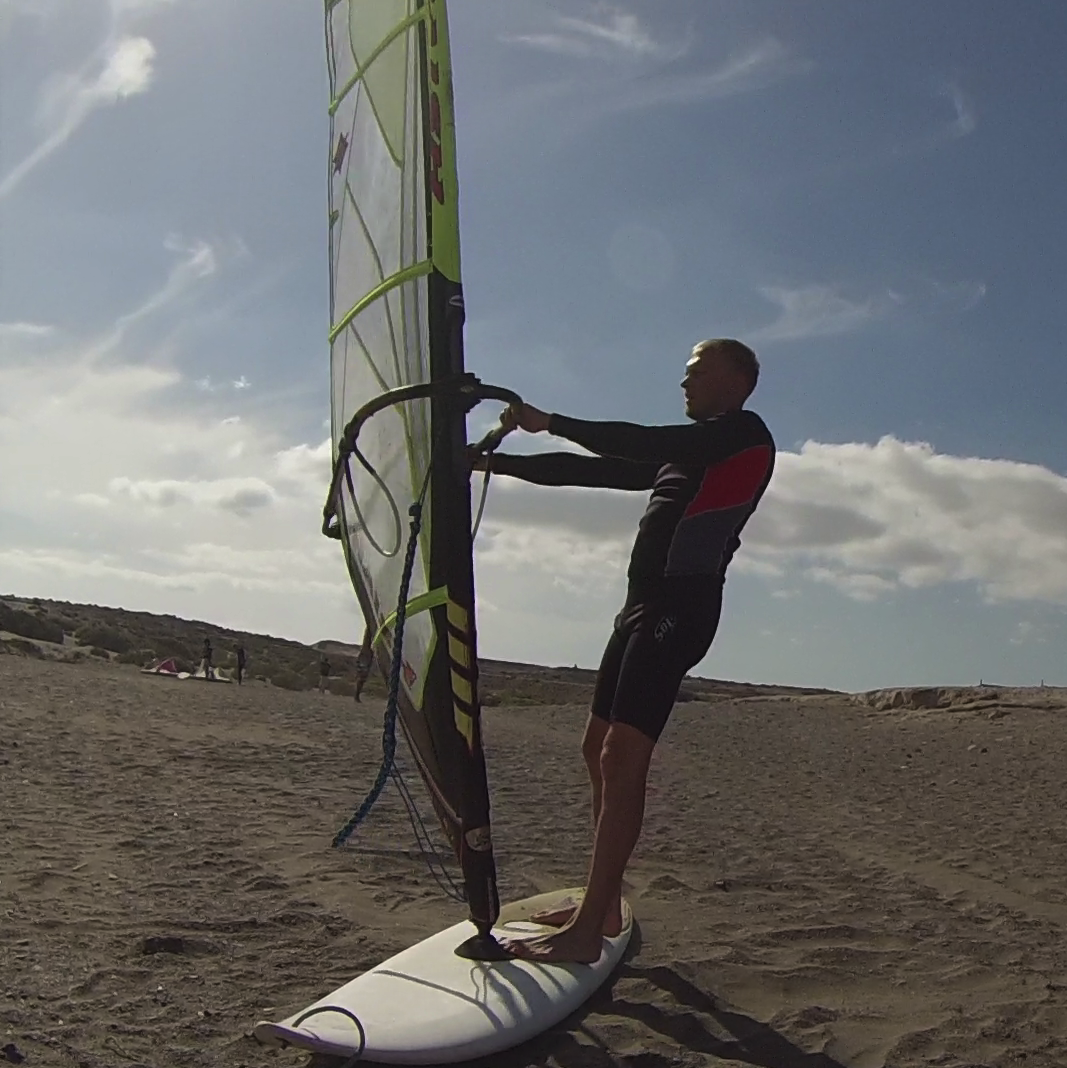
Simulator: a device which helps prepare a task or action in an environment in which the consequences of failing to do said task correctly results in little or no repercussion.
In the case of the windsurfing simulator it is any device which allows us to learn a number of manoeuvres on land so that when we get it wrong we dont have to crawl onto the board after falling in and waste energy in the process.
Types of windsurfing simulators
The corpse
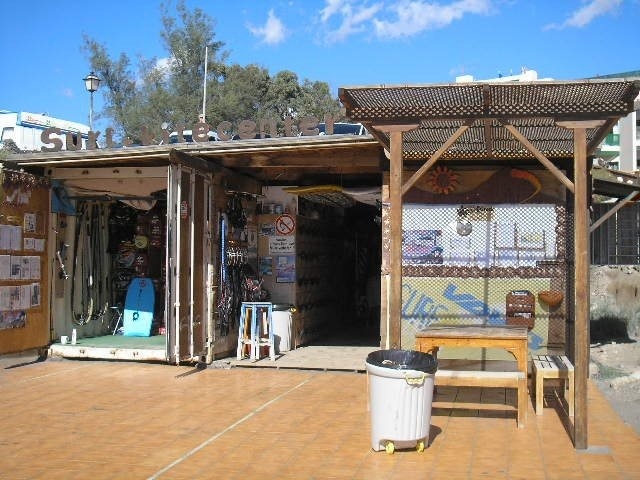
Maybe a little too macabre way of calling a retired board. I am referring to an old board that has had one beating too many on the rocks or has gotten delaminated beyond salvation. As soon as it becomes the simulator it is doomed to be used roughly until it breaks apart. It is free to rotate the full 360 degrees over its centre. At the SURF CENTER PLAYA SUR we have drilled a hole into the nose and passed a rope through it to pull the board around when teaching steering, turns or even the effect of lateral waves.
Fin dig
Should we not have an old board at our disposal that we can turn into the beach gimp-board, we can improvise with an intact board and just dig a hole for the fin so that it doesn’t have to take the weight of the student and risk breaking off. The downside is that it can only be rotated around the fin, meaning that the student has to get off each time the course is modified.
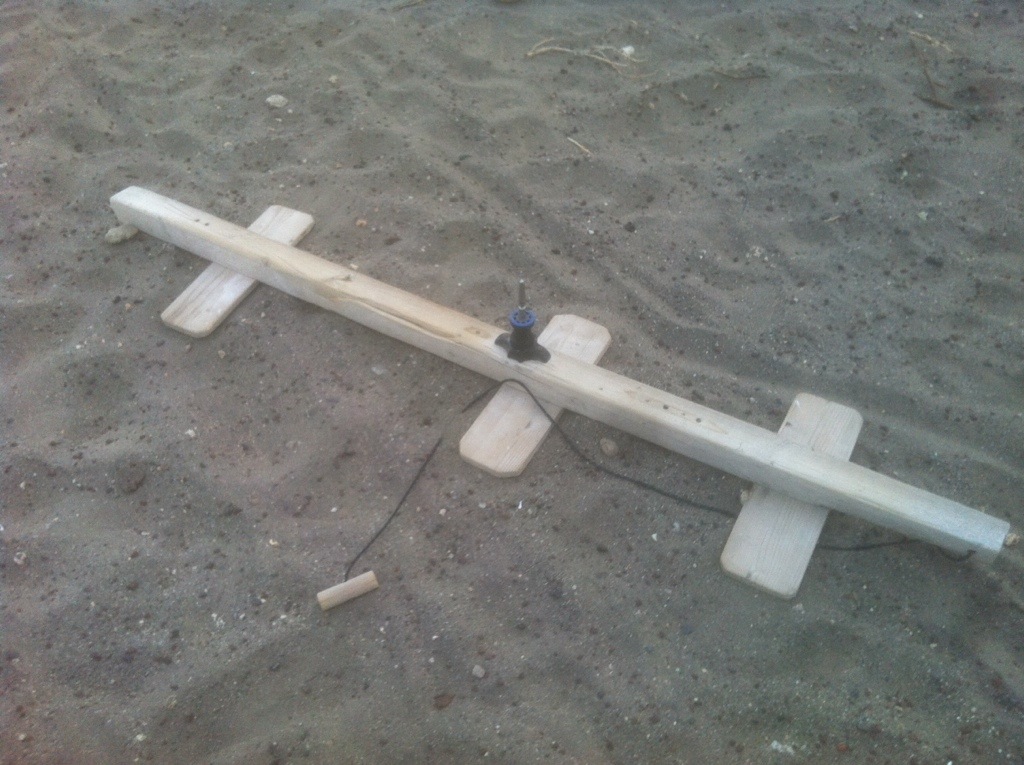
The beam
This consists only of a beam with a mast-foot attached to it and some lateral supports to keep it upright.
This device is good only for one thing: getting the feeling of finding the equilibrium between the shift of weight by leaning back with the body and the pull of the sail.
The aim for the student is to remain on the beam by opening and closing the sail in the correct amounts in order to learn to not compensate the shift in bodyweight by moving the feet but only with the sail power.
The pontoon
I got this idea from Will Rogers. I haven’t tried this one as I have only taught on the sea with waves and a pontoon is just not viable.
The idea is to have a platform on the water that can rotate over its centre (so the board can also) and lay the board on it so that it has more stability.
The anchored vessel
This one comes from Colin Walters. Much like the pontoon but taking it a step further by taking a functioning board and tethering it to the bottom in shallow water through the daggerboard slot. I haven’t tried this one either for the same reason as mentioned before but I assume it simulates the windsurfing sensation without the inconvenience of drifting downwind and having to walk back again.
The high tech simulator
A state of the art device which takes somewhat more dedication and handicraft. It is basically a board strapped onto a platform that can rotate 360° over a pivot point. It is a fairly good representation of how a windsurfer reacts to the different sail positions and pressure increments.
As we can see in the video, the simulator rotates very quickly and at the slightest alteration. Whilst this may be great training for someone that is slightly advanced past your basic sailing back and forth routine, for a beginner this can be very frustrating since they don’t have the feeling built up in order to react correctly in time. A solution to this is to install a set of springs or dampeners to the rotation mechanism so the kit doesn’t overrotate constantly and you don’t have to be so precise with the sail control. Another option is to use small sails (less power) or sails with a low centre of power.
For guide how to build it check out the post by Andy Reed or the one by Colin Walters.
The only downside to this construction (considering the dampening to the rotation is in place) is that it cannot be used in locations where sand flies around all over the place as the grains will obstruct the rotational workings of the simulator. However for other locations this is fine.
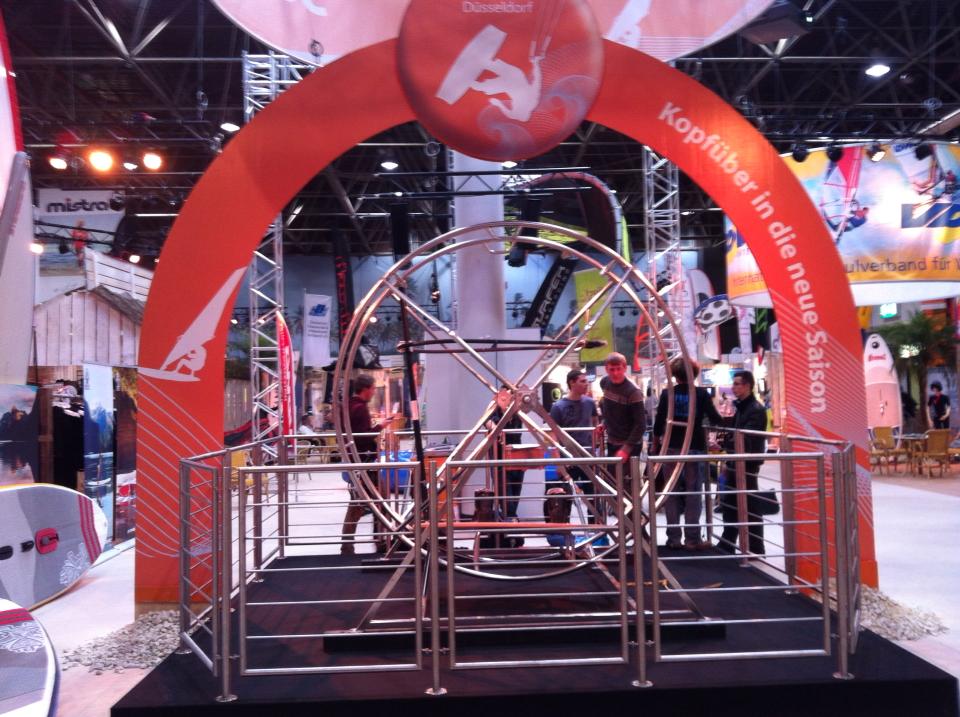
Frontloop Simulator
The VDWS had this one on display at the Boot.
I like this one. I haven’t had a go on this but it looks like loads of fun. As to how well it simulates reality, I believe the only thing it can prepare you for is the sensation of rotating forwards so that it doesn’t surprise you the first time you actually dare to go for it. As I don’t know how this one works I can’t tell whether the rotation is induced by the weight displacement or the pulling of the back hand or both (or neither).
As I said, I have no idea as to how accurate it is but I guess that if they went through the hassle of constructing something so elaborate, it must be for a reason.
Waterstart Simulator
Just so you don’t drift downwind during the hours and hours of waterstart training, how about an anchor?
The game
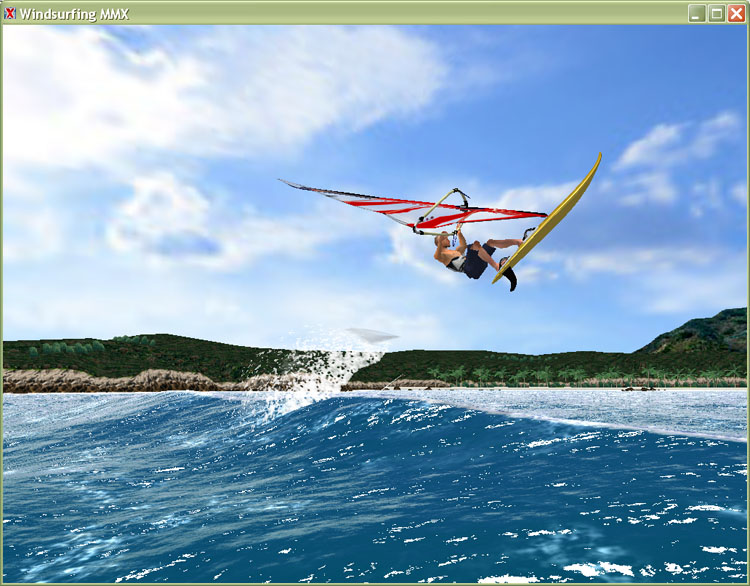
Much like the flight simulator for airplane geeks, this game is fun and an accurate enough representation of the real deal. Naturally the graphics are not on the standard of say the latest Call of Duty game but it is definitely entertaining. I have only played the demo version for a short while meaning the only thing I got to try was jybes, tacks, cutbacks, goitas and the occasional frontloop but I gotta say that it was entertaining. Once you get the hang of it you might use it to hype yourself up for a session during those last tiresome minutes at the office.
The guys at Windsurfing MMX have done a great job so if you get the chance check it out here.
Summary
As useful as simulators are to get across the basics of windsurfing or specific moves I do think they are overused as the only real way to learn the art of windsurfing is to do it in the real world.
If you think this post is incomplete or inaccurate let me know in the comments and I will update whatever is applicable.
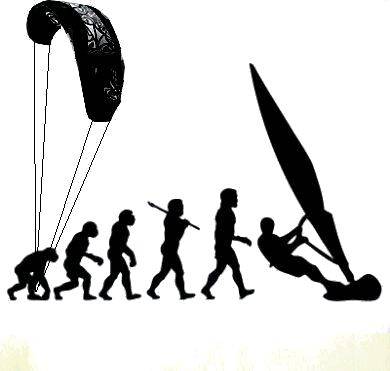
Windsurfing vs Kitesurfing
Windsurfing vs Kitesurfing
It occurs very often that I have to hear how windsurfing is better than kitesurfing (or vice-versa), that kitesurfers are just a nuisance (or vice-versa), etc. That is not what I intend to talk about in this article. I think both sports are a great way to have fun on the water (personally I do both and think that badmouthing one or the other is juvenile as these sports can coexist perfectly and share the water without any problems). I dedicated a whole other post on surf rage and where that comes from. Here is a fun clip illustrating what happens from time to time.
Transport
Equipment cost
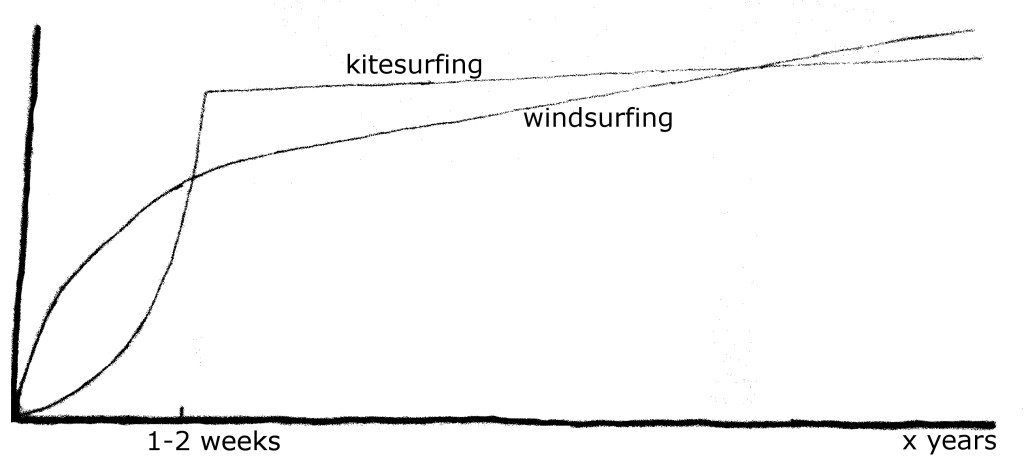
Learning
Physical requirement
Independence
Locations for sailing
Safety
Conclusion
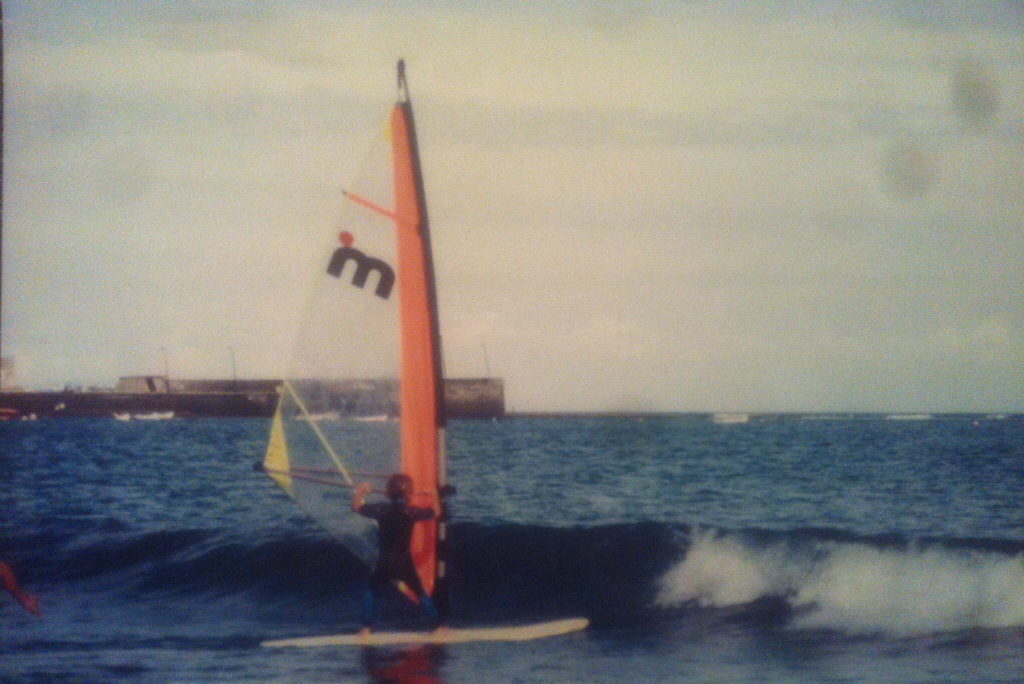
The Minimum Age to Start Windsurfing
How often do I get the question by parents?: At what age is it advisable to start windsurfing?
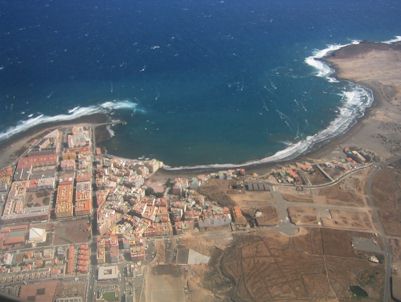
It is somewhat difficult to properly answer this. Of course there is a lower age limit. Mainly this is given by learning capability of the child and its weight. I personally was standing on a windsurfer at the age of 4 with my dad sitting on the front of the board. However, it has to be said, owning a surf center lends the opportunity to choose the best days to do this, which are rare in El Médano.
Here are a few things to take into consideration when thinking of teaching your child how to windsurf.
Age
First of all, a 5 year old might will have a somewhat shorter attention span than an adult. Add to this that they will also get tired faster and you have to gauge how long he has fun and when you are pushing the limit.
Also, explaining the concepts of the wind (relative wind for example), etc. is tricky when you are dealing with such a young mind. Therefore the initial stages might be possible to transmit through show and tell and intuition but once more technical aspects which require understanding are required, we reach an obstacle.
That being said, children do have the wonderful ability to learn physics feats pretty fast. In conditions that are not unfavorable, as child will get the hang of windsurfing very fast.
The age also influences how impressionable they are by danger. It is important that they are aware of the dangers that can arise without instilling so much fear as to make they abstain from the sport. As I said, finding the correct balance is difficult with young minds.
Weight
In windsurfing, the real deal begins when we start to lean backwards into the wind and let the sail hold us. This is fair enough for and adult to apply that weights over 60 kg. For us it is no problem to slowly get used to the wind holding us despite gusts and waves as the impact is not THAT great. For a child however, they have to start with very small sails which start to get flung about by the wind when being pulled out of the water, pulling the child with it. Also, when the wind is not constant, the gusts destabilize the equilibrium of the windsurfing child a lot more than an adult.
Strength
It isn’t until the waterstart (and to some degree the beachstart) that we use the wind to lift us out of the water. Up until that point we are forced to lift the sail up with the up-haul rope. This means that we have another limitation since as we progress we will use bigger and bigger sails. This implies that they will also get heavier and for a child there comes a moment in which the sail is simply too much too lift. Add to this the wind pushing down on it and you have a child that will get tired very quickly.
Even for the waterstart you would have trouble as with small sails the lever that can be applied through the boom onto the board is very small (the same goes for the arms range of the small kid) meaning that control over the board through the sail, be it for the beachstart or the waterstart, is more challenging than for an adult.
Conditions
Due to their size, waves are relatively much bigger than for an adult, and the wind variations are much greater. All in all we want as flat water as we can get it and as constant wind as possible. This may be the conditions we want anyways but for children it is just that more important.
Conclusion
I am all for getting children motivated for this awesome sport early on. They are fast learners and will be really motivated if you gauge their stamina limit right. I would say a good age to start is between 5 and 7 and weighing over 30-35 kg each of these aspects (learning capacity and weight) leaning on the other..
It has to be remembered that until a certain weight is achieved, the process will be limited to big volume (relative to their size of course) and small sails. You can reduce this limit with very lightweight kit (mainly sails) and choosing the right spot to learn. It will be a long term investment but if you go windsurfing once or twice a year in the holidays the progress limitations will hardly be noticeable 🙂
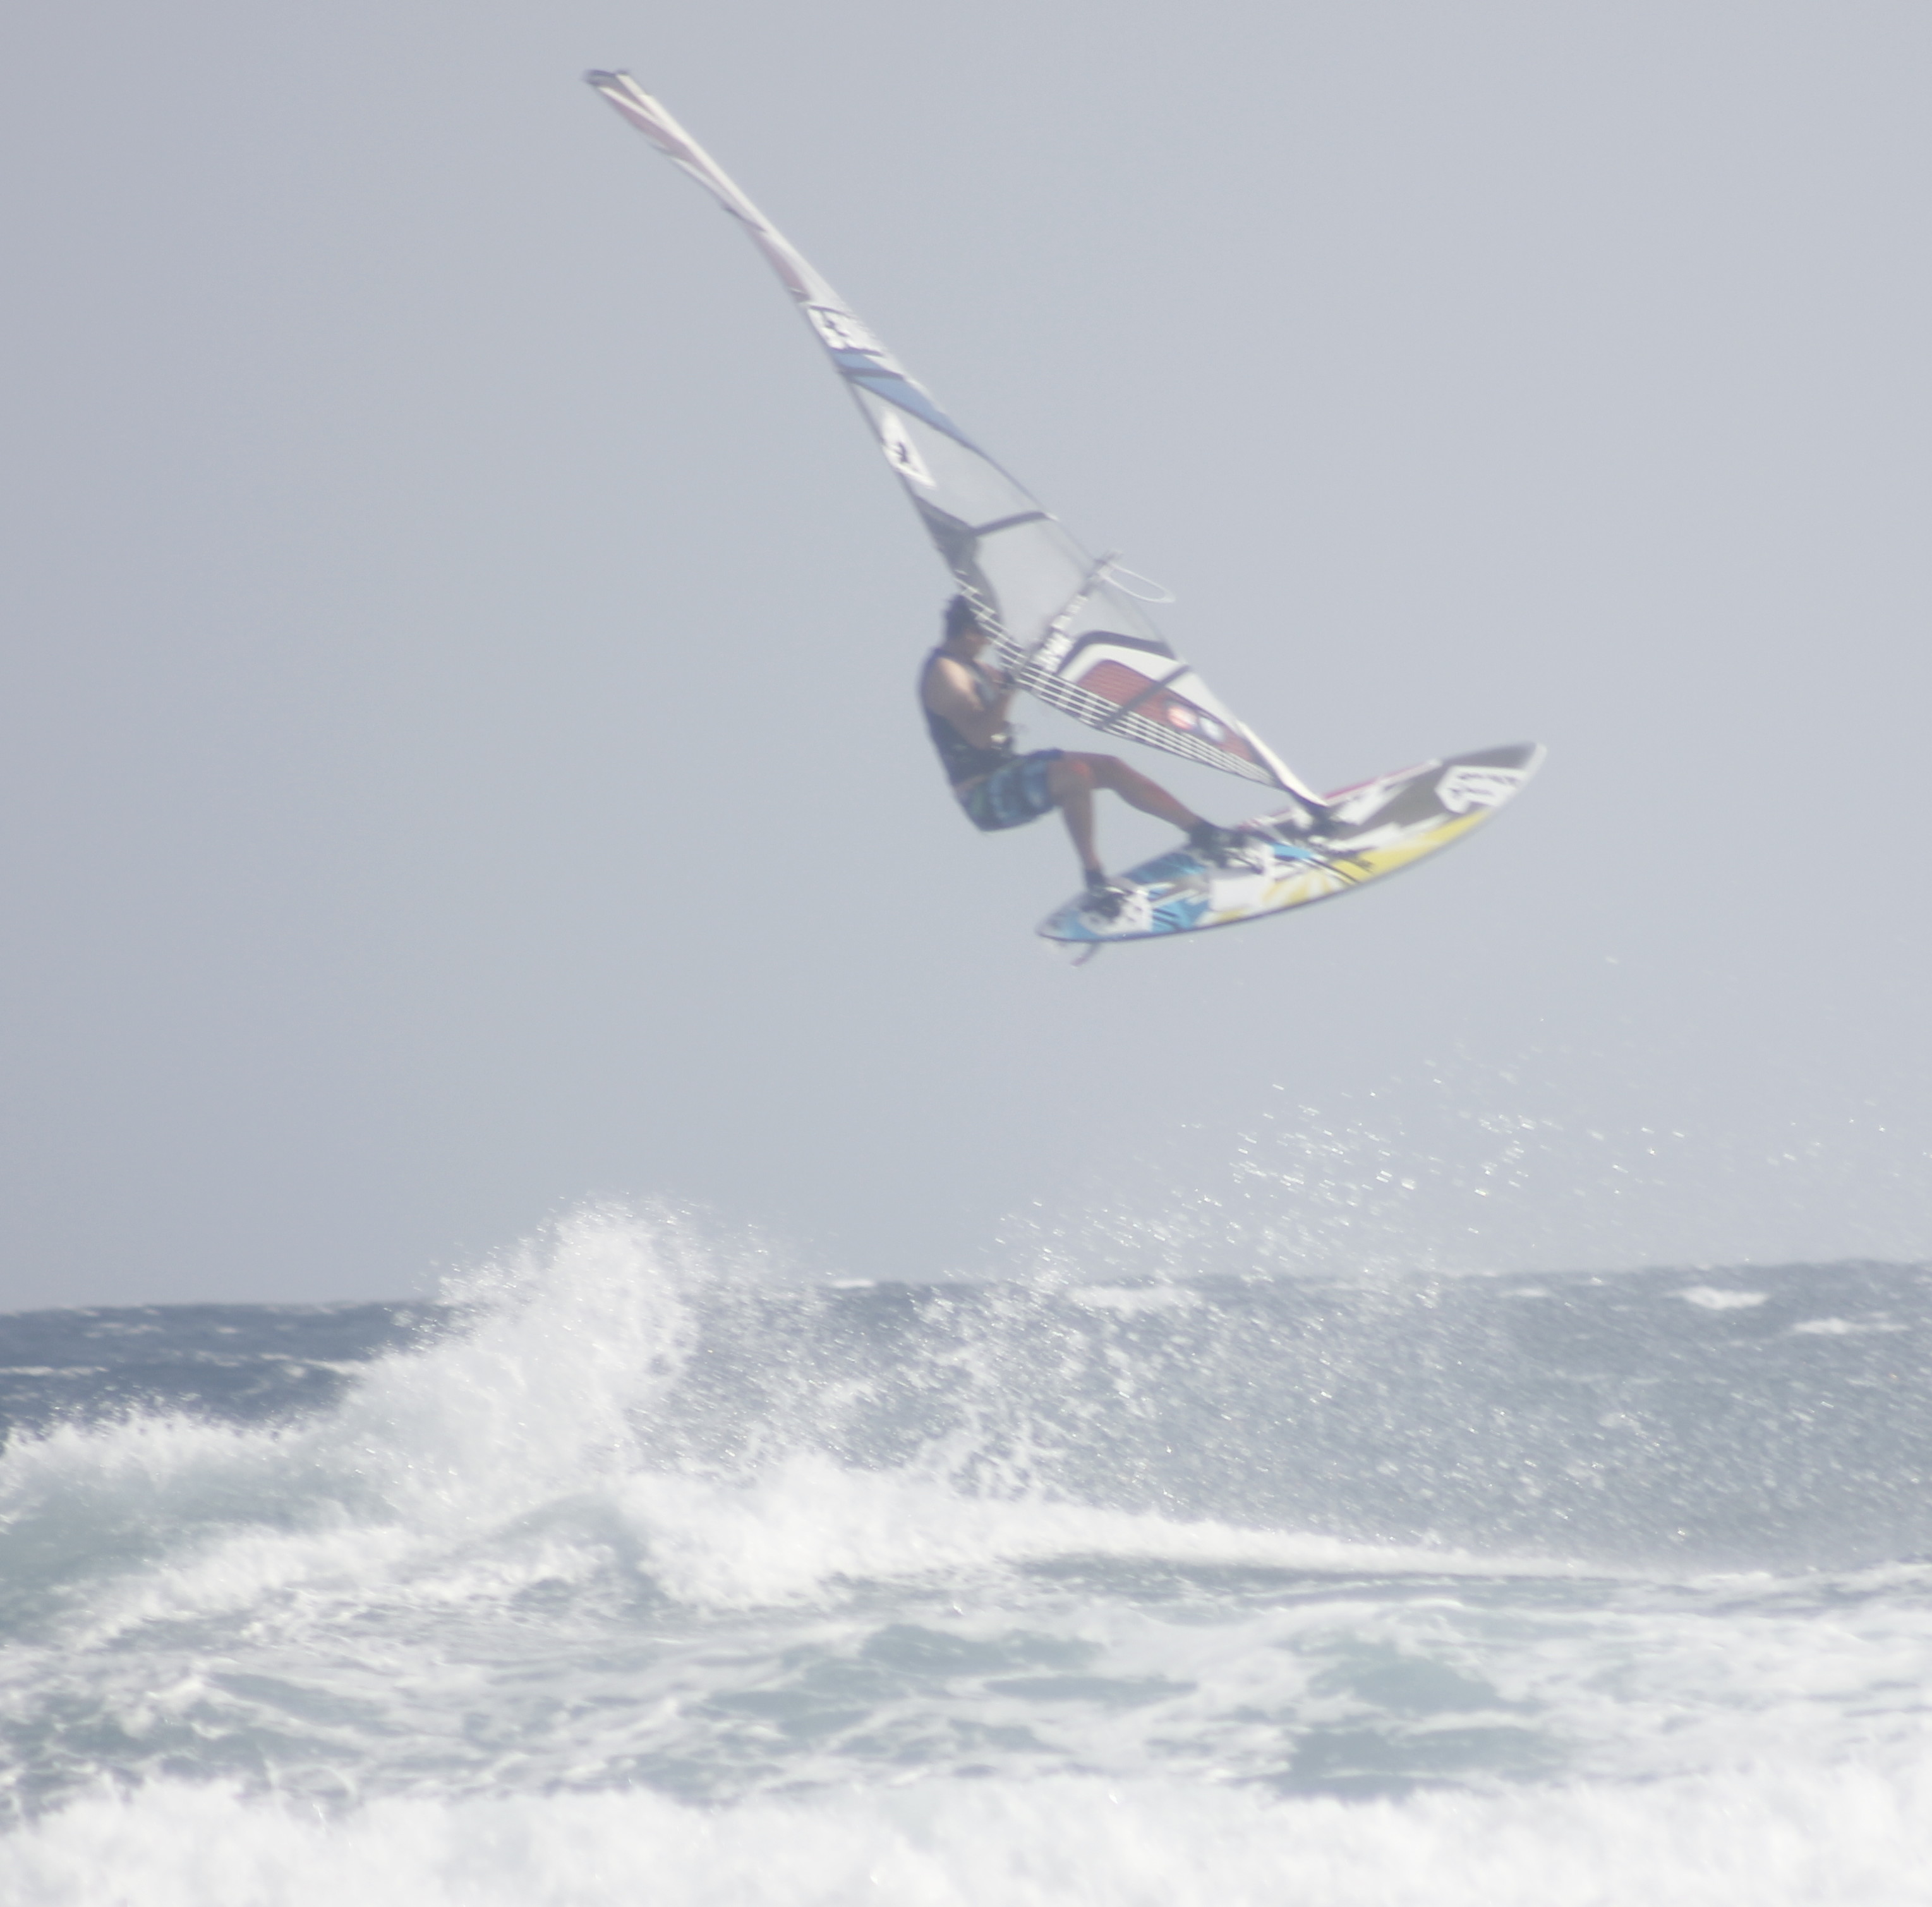
How to do a Windsurfing Jump
I grew up and learned to windsurf in El Médano. Here we have waves nearly every day and the stronger the wind, the bigger the waves. In other words, for me it came naturally to pick up speed and at some point hit the wave right to tale off into the air.
Most people who pick up confidence to windsurf at speed here end up doing a windsurfing jump sooner or later, mostly by accident. Let’s look at how to make a controlled jump so you can enjoy some air time without risking a crash. read more…
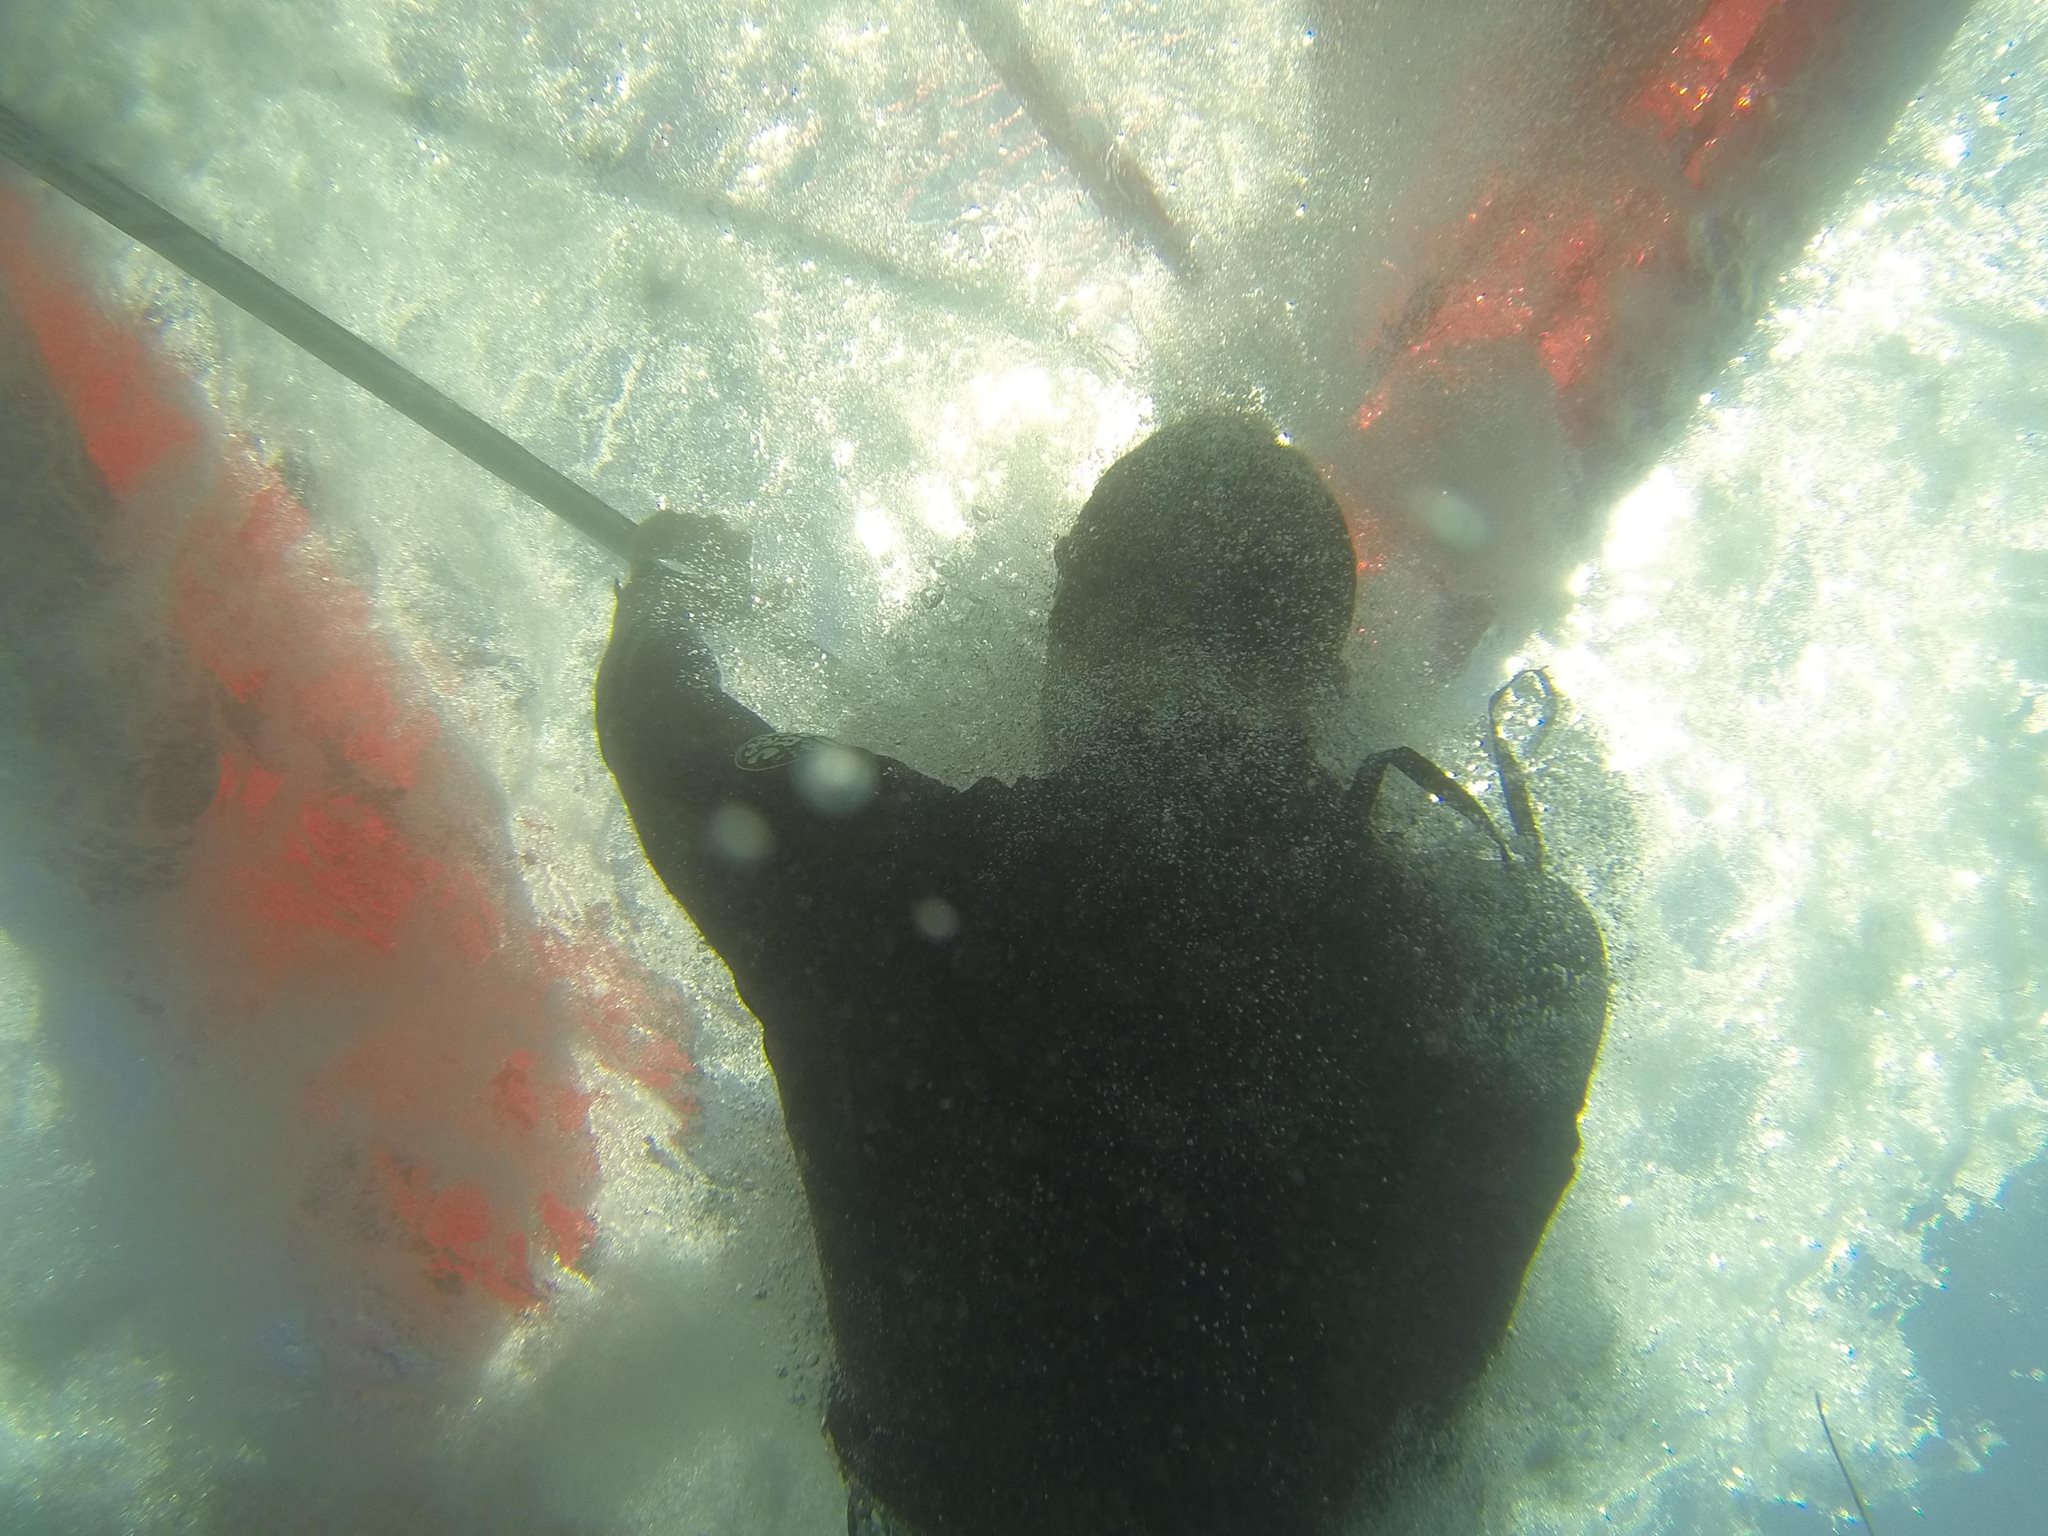
Being trapped under the sail is harmless
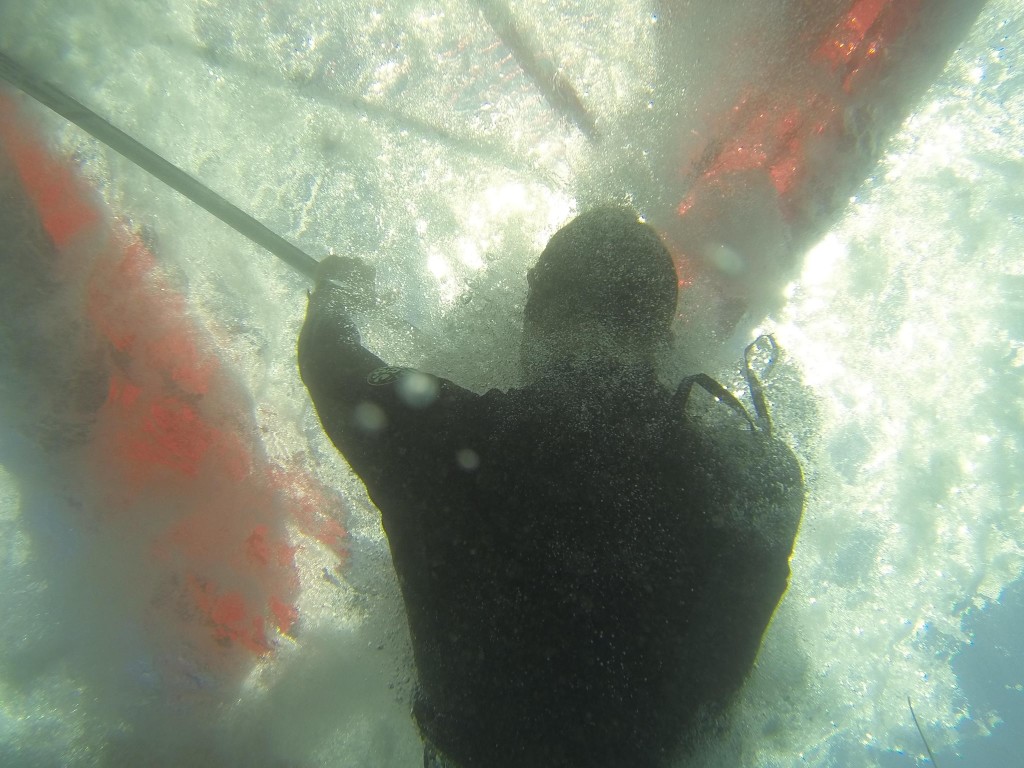
I cannot count the number of times In which I have hear the horror story of how someone fell in and ended up with the sail on top of them so that they were trapped under it and were this close to drowning, groping around and finding nothing but foil. You dont know where to swim because it all feels the same and any direction you choose seems to go on for ever as if you were swimming from the mastfoot to the top. Sure, I had that moment myself when I was a kid but never since then. The main thing that has changed is my realization that by staying calm, the oxygen we have in our lungs lasts longer and we can use that oxygen for something better than wasting energy. For example, to think and to find a way to get to the surface. I think I can make you feel calmer by giving you this piece of information: follow the battens.
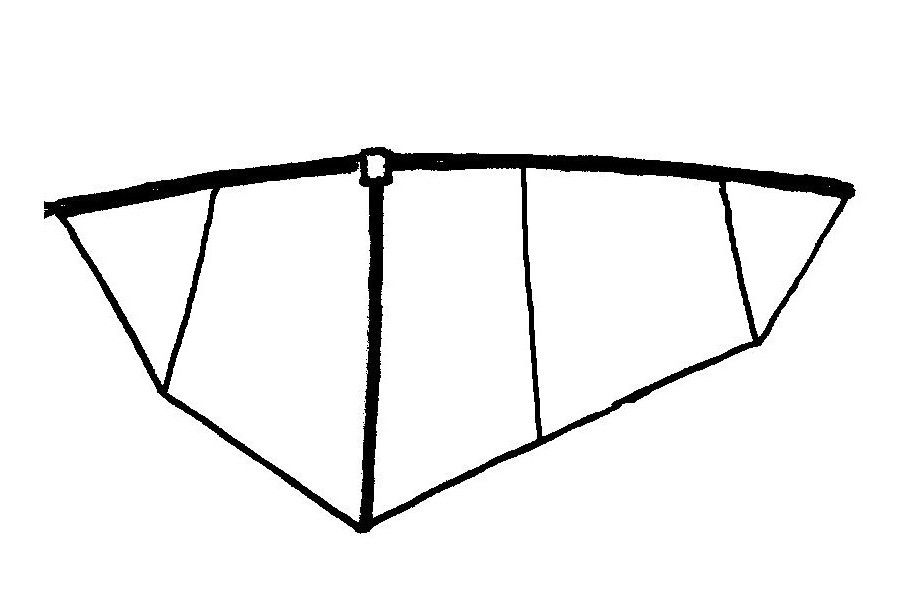
The sail has a number of batons across it spaced at no more than maybe 80 cm apart from each other. Each of these batons goes from the mast all the way to the leech, meaning that if you find one (less than a second of groping with your eyes closed is enough for that) then all you have to do is propel yourself along the baton in either direction until the end of it.
And if you have the boom at hand then I probably dont have to mention that the same thing goes, apart from the advantage that you can pull yourself along it rather than having to swim.
I have also heard so many times from people that they dont hook into the harness for fear of getting trapped under the sail underwater.
To me this is completely unreasonable.
“But how am I supposed to get away from under the sail if I can’t move?” I hear you say. Well here is my answer:
You don’t have to go anywhere! All you have to do is twist your body so that it is in line with the boom and poke your head out and then calmly get unhooked. The distance from your shoulders to the hook of your harness plus the length of the harness lines is greater than the distance from the mast to the location of the harness lines on the boom. Problem solved.
My First Windsurf Board
It’s a little strange for me to recommend a first time board buy to anyone. My first board I bought by helping out at my parents surf center and having them pay it. It was a custom made twin fin wave board with something around 50 litres. I must add that I was 11 years old at the time 🙂
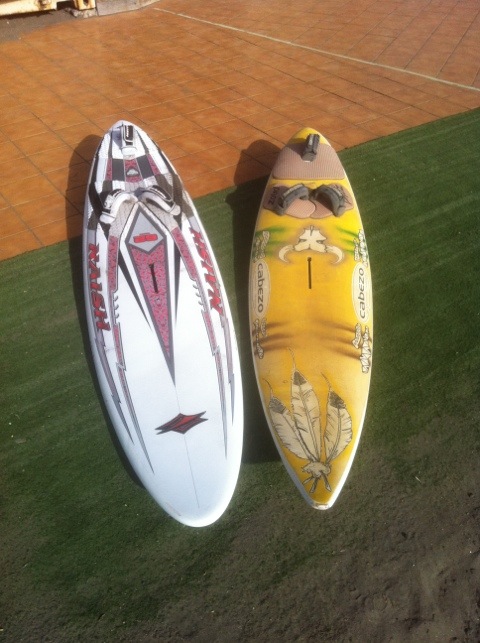
My first board next to a 62 l 🙂
However, despite this different initiation, I can still advise my students on what their first board should be like.
First off, dont bother with buying a board with a centreboard. That is, unless you want to stunt your own progress for not pushing yourself. The board you will use for the longest period of time is something in the range of the 140-160 litres. Naturally this will vary a little depending on your weight but generally this is the litre rangeyou will get the most use out of.
This is the board on which you can learn the beachstart, waterstart, use of footstraps and perfect the harness use with. It might be a little chunky to get into the speed jibe. Until you get the beach and waterstart down it still offers enough buoyancy to allow for uphauling.
All in all, my recommendation for a first board should also be one you will be likely to keep for those really low wind days once you progress past it on windy days.
160 litre board
11 Features a Windsurf Center Must Have
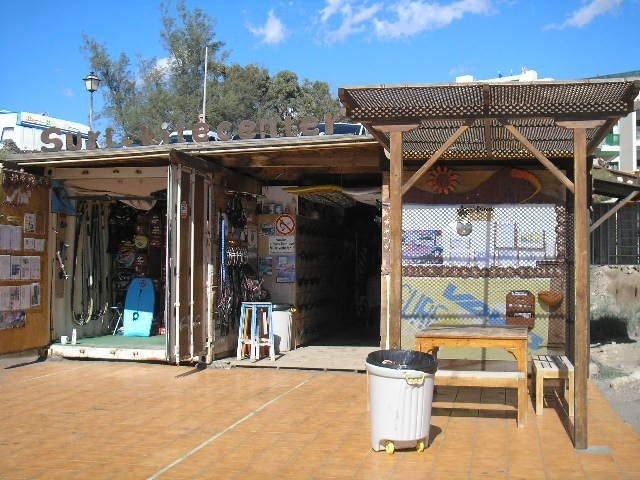
A surf center is a key point to a surf spot. It is a resort that offers an introduction to the awesomeness of watersports and the facilitator of means to enjoy any of the sports that use the ocean as its playground.
Here is a list of what I believe a surf center should have.
1. Location
I could say that this goes without saying but it is good to remember what our target clientele is. If you intend on bringing beginners to your center, it would be a good idea to choose a spot with flat water. However, don’t expect experienced riders to come if all you have to offer is a maximum of 12 knots (formula sailors do exist, but are they going to rent or will they be more likely to bring their own stuff? An alternative to watersports should also be nearby for days with less favourable conditions as well as decent establishments for food and accommodation.
2. Good equipment
A surf center is characterized mainly by its equipment. What makes one center better than another at the same location is the quality of the equipment it offers. It will naturally also determine the price it asks.
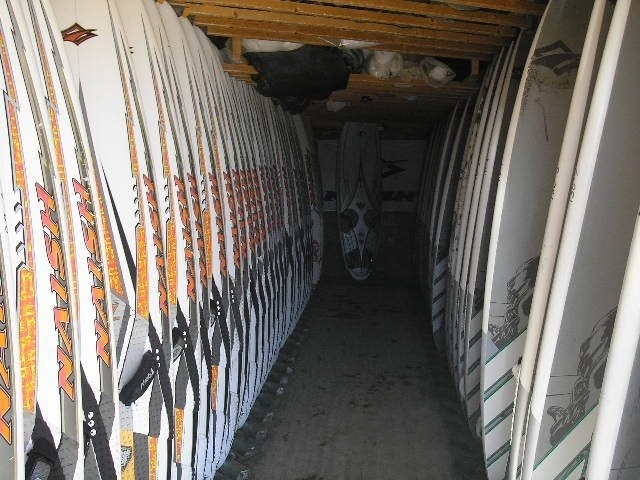
3. Storage space
People who own their own stuff will most likely not want to spend money on rental. They prefer the commodity of sailing the kit they are used to and if you can’t provide a place for them to store it safely, they will go someplace else.
4. Good instructors
A surf school might have great facilities but if the instructors giving the lessons are no good then you might as well just rent. There are a couple pf things that make an instructor good which will be mentioned in a future post.
How to Windsurf – The Planing Gybe
Disclaimer: I will refer to both gybes as planing gybe so I don’t have to keep writing “power-gybe and carving-gybe” all the time. Basically the thing that differences them is at the end anyways and I will mention it when I get to it.
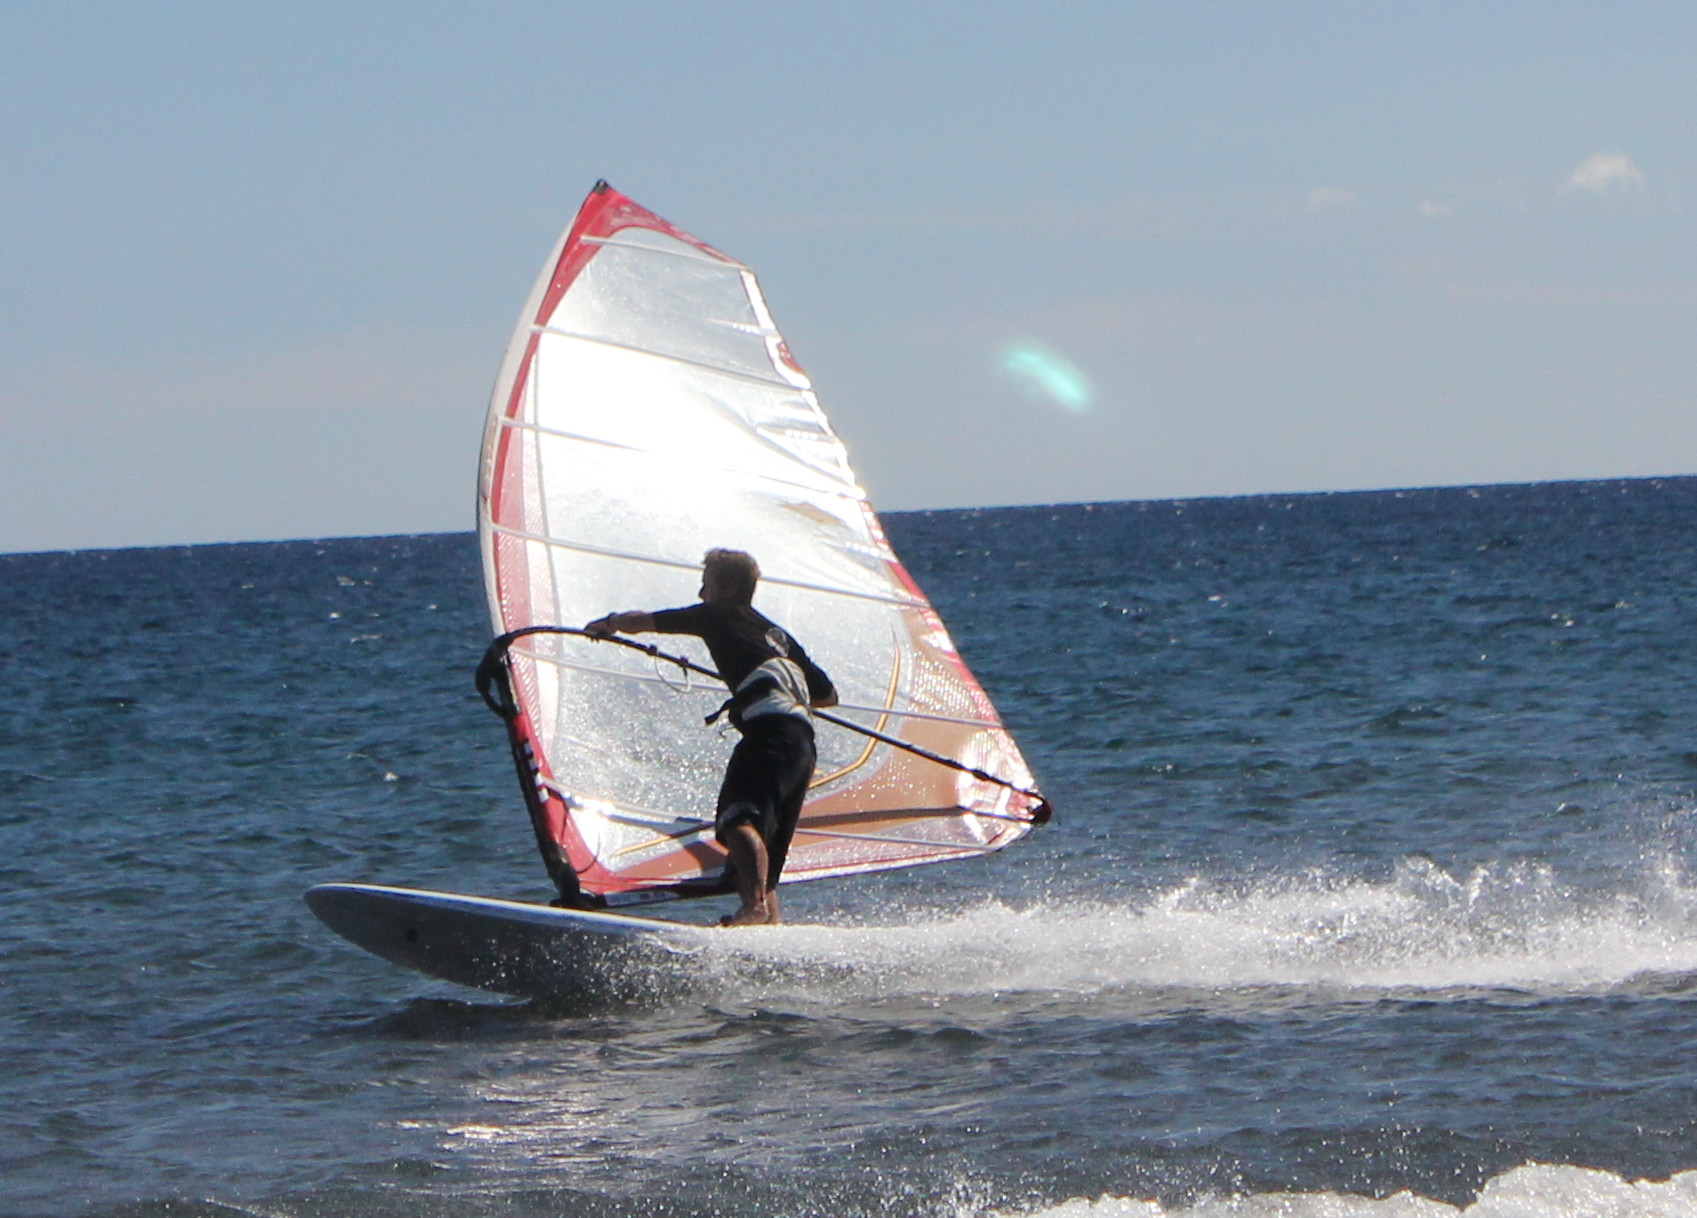
We have arrived at the holy grail of windsurfing. Sailing out on a plane, turning around and coming back to the beach with dry hair. Once the waterstart is a struggle of the past an no linger a big deal, it also becomes a bit of a nuisance having to let ourselves fall in the water to turn around and waterstart back to the beach. It is time to learn how to do the planing-gybe.
First off, the technique of the planing-gybe has little to do with that of the beginners gybe. The first is for small boards with little volume that sink when they are not planing. The normal gybe is for large volume boards which float even when at a standstill. For this reason I recommend learning the planing-gybe with a board no bigger than 120 litres, less if you are a lightweight.
So let’s get down to it:
Start by planing
As already mentioned a few too many times before, we want to be planing for this gybe. The one thing that will make or break the success of this manoeuvre is speed. Having it when we go in and keeping it throughout. The faster we go, the easier the entire sequence of motions is going to be since the board will be more stable at high speed and the sail will be easier to handle. Our immediate goal is to arrive in the downwind course having the same speed as the wind since then the relative wind is zero and the sail can be handled much easier.
Take the back foot out of the strap
We take the back foot out of the strap and place it on the downwind rail and begin to put pressure on that rail.
Move our weight forward
As the board starts to turn we shift our body forward, over the front foot to make sure that the board remains as flat on the water as possible instead of having too much weight over the stern which would cause the board to sink and slow us down quickly. Keep the front arm straight and the sail sheeted in
As we start to bear away, the relative wind changes also. At one point the board speed is going to be faster than the actual wind and the relative wind will be coming from the downwind course. To use this relative wind to the fullest extent we must keep the front arm straight and the back hand sheeting in the sail to keep an optimal angle of attack on the sail.
Keep the weight over the front foot
Resist the temptation of leaning back as you pick up speed on the downwind course. You want to lean forward with your shoulders without sticking your bum out. Leaning back will only slow us down or make the board shoot out forwards from under our feet and stcking our bum out will rob us of stability.
Keep steady pressure on the rail
If we stand on the board unsteadily we will be applying varying pressure on the inner rail which will result in the board to not make a smooth arc through the water but snake lines which will reduce our stability even more.
Once we arrive at the downwind course we will do one of two sequences that will decide whether your planing gybe is a power-gybe or a carve-gybe. Taking advantage of the relative wind being close to zero, and so hardly having any pressure in the sail we:
| Power Gybe | Carve Gybe |
|
Change our foot position taking care to keep them positioned along the centreline of the board and putting a little more pressure on the heels to keep the board durning. First we change the front foot (of the old side), basically just rotating it on the spot and moving slightly to the centreline of the board so it comes out of the footstrap. Then we move the back foot (of the old side) and move it just behind the mastfoot so that the board remains flat over the water and so that when the sail is shifted we can transmit the power of the sail into the board again. We then we shift the sail making sure that we bring the mast forward again as quickly as possible as the clew can get caught in the water when it arrives one the new side resulting in the sail getting pulled out of our hands. Once the mast is brought forward we can also grab the boom again with our back hand. |
Shift the sail making sure that the mast is brought forward again once it has shifted so that we can grab the boom on the new side and so that the clew doesn’t get caught in the water and the resistance in it pulling it out of our hands. Now it is time to change our foot position: first the front foot which is taken out of the footstrap and placed just behind the front footstraps and on the centreline of the board; then the foot that is on the rail is moved forward just behine the mastfoot ready to transmit the sail power into the board again on the new side.) |
Once on the new side with the feet and sail set up correctly again we need to continue the plane (or get back into it in case we slowed down too much). In other words we must lean back, close the sail and push our hips forward.
I personally do vary on the gybe I do depending on the side I do it in. I feel most comfortable with my right foot in front as I have a goofy stance when surfing or skateboarding. For this reason I do a power-gybe when starting on a port tack and a carve-gybe when I start on a starboard tack so that I stay as long as possible with my right foot in front as I feel I have more control. People with a regular stance will probably prefer to keep their left foot in front longer. In any case, try out both ways and see which one comes more naturally to you.
To recap:
– Important is to be planing
– Back foot out f the footstrap
– Start putting pressure on the rail
– Weight forward
– Front arm straight, close the sail with back hand
– Keep body vertical: no sticking our bum out in a sitting positiion, no leaning back with the shoulders
– Keep steady pressure on the rail throughout the manoeuvre
– Switch feet first, then shift the sail (power gybe)
OR (Depends on preferred stance)
– Shift sail, then switch feet (carve gybe)
– When shifting the sail, bring the mast forward again quickly so the clew doesn’t get caught in the water
