One of the biggest hurdles for beginners coming to El Médano is the ocean swell. Getting through the beach break is hard enough (which I have explained here) but windsurfing in waves and getting back to the beach is usually a big problem.
What is the problem?
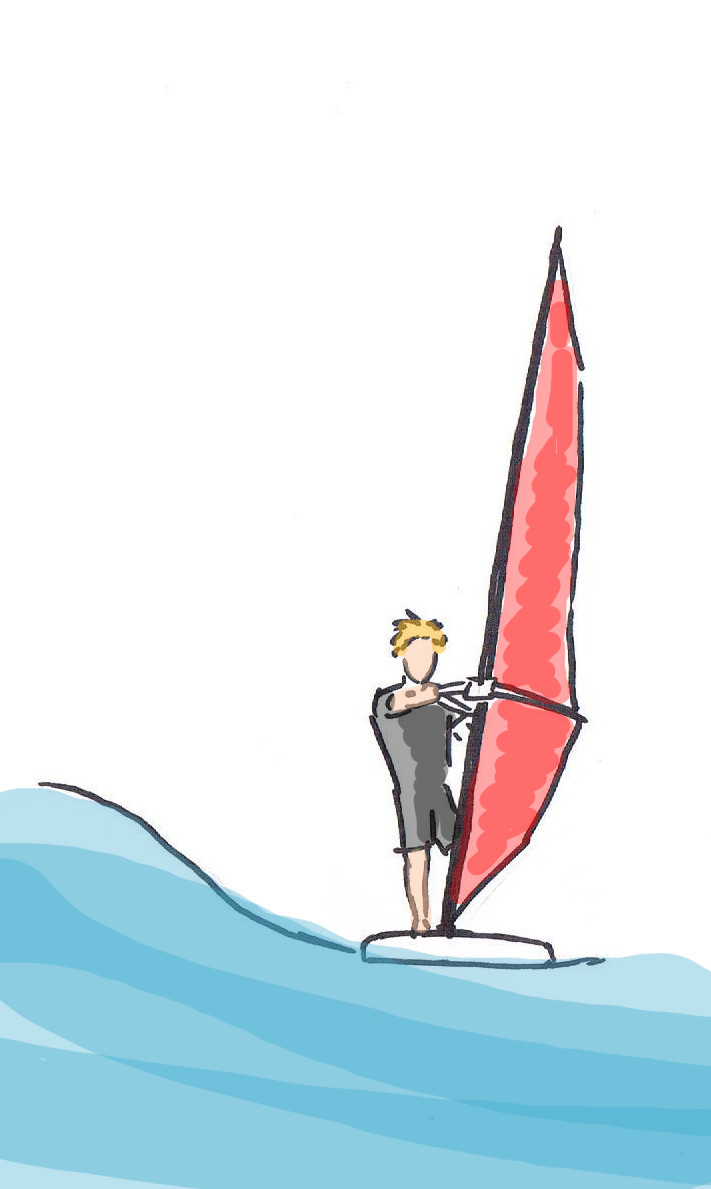
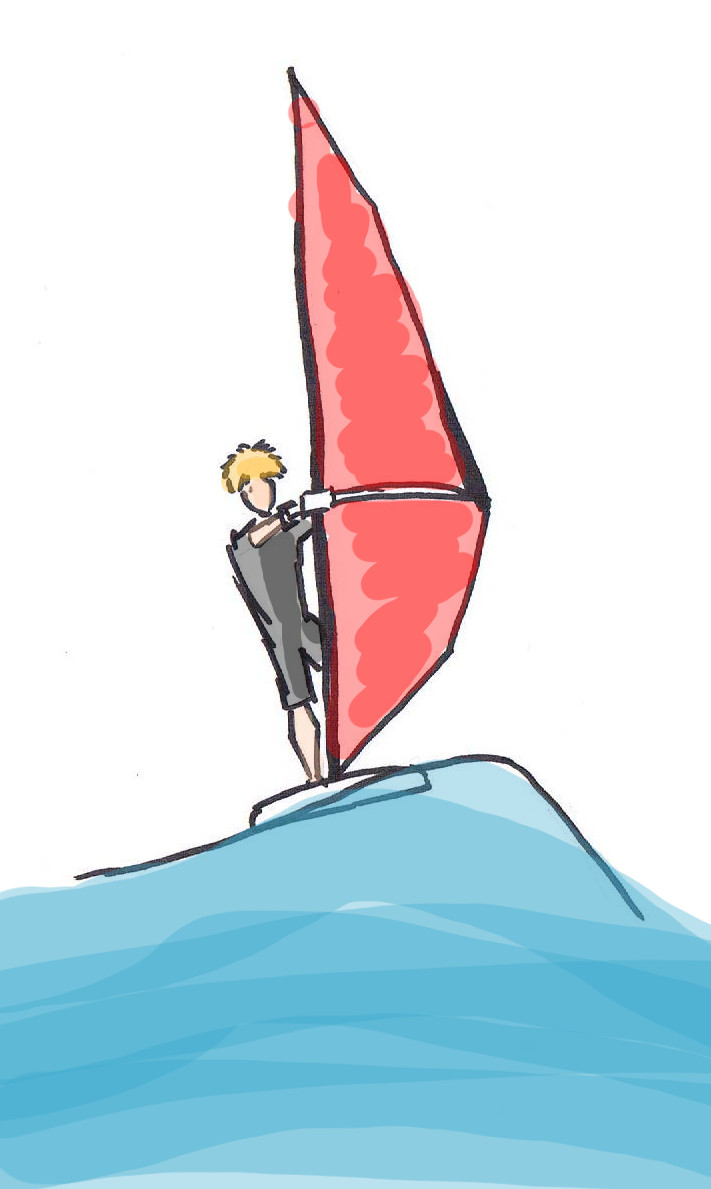
You see, the swell comes into the bay in the same direction as the wind, side onshore. This means that when we are sailing away from the beach, the waves come from the front. Not much of a problem as we have the whole length of the board as well as our stance to reduce the impact of the waves. When returning however, the board is positioned so that the wave comes from the side, even a little from behind. What happens then is that the wave hits the board from the side and pushes it along about 0.5-1 meter (2-3 feet). For us this is like someone pulling a rug from under out feet: our feet get pulled away with the board and our shoulders are thrown backwards.
The solution
There is a simple solution to this rug-pulling effect: sheet in with the sail. In other words, do as you would do if the wind suddenly dropped. Sheet in to get more power in the sail so that you get held/lifted up with the wind. A very important thing to remember is KEEP THE FRONT ARM STRAIGHT. I have written before on the importance of keeping the front arm straight and this is one of the occasions in which it is VITAL to focus on keeping the front arm straight. Our instinct will be to pull both arms close to the body as in ony other situation, if we are falling backwards or want to pull ourselves up, we bend both arms. In this circumstance, we must force ourselves to do the counterintuitive: bend only the back arm and keep the front arm straight.
For me it is always a key moment of joy the first time that a student manages to overcome the urge to bend the front arm as is rewarded by the wind keeping them up.
That’s only part 1 of the problem, now comes part two
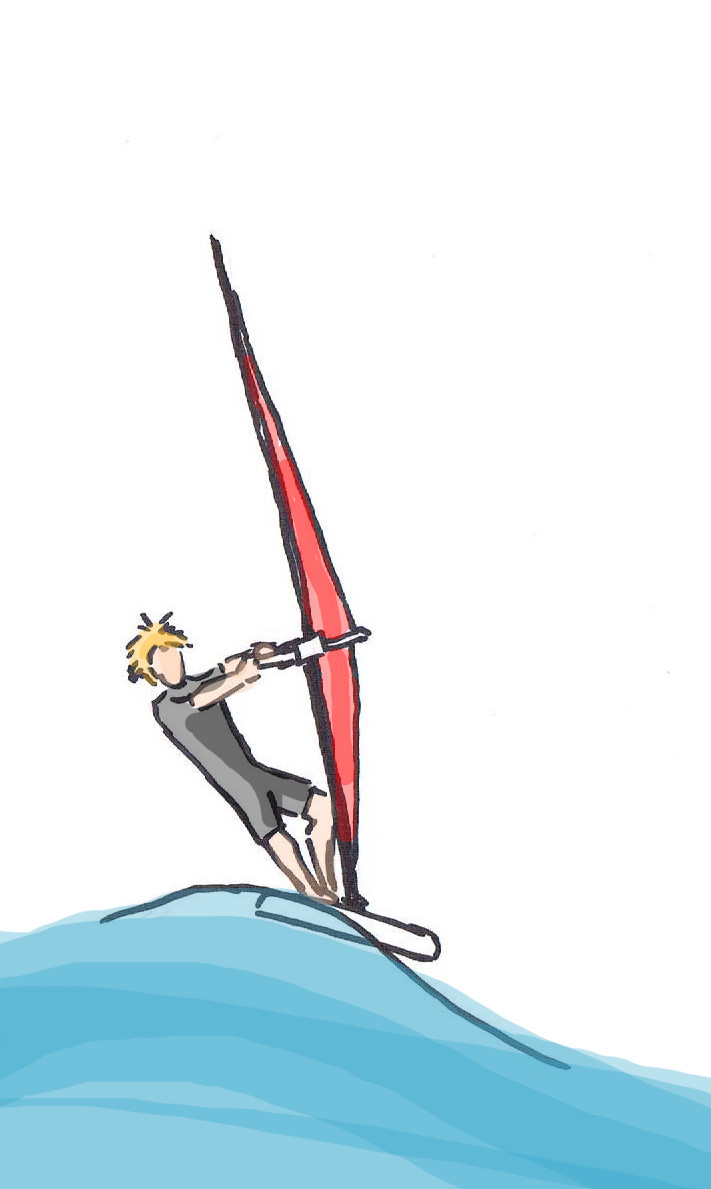
Once the wave has gone through from underneath us, the board goes back down on the back of it. This means that the rug is now pulled (to a lesser extent) in the other direction causing our shoulders to lurched forward.
The solution
It’s simple, just the opposite of part one: sheet out. Basically take power out of the sail. This way, since our shoulders are already leaning back, we will not be pulled over forwards uncontrollably.
Note: I am not saying you have to let go of the back hand completely. We don’t want to lose control of the power in the sail. Of course, if we react a little too late, we will have to let go rather than allow the sail to pull us over into the water. The idea is to just reduce the power in the sail by, let’s say, pulling less.
A constant task
These two movements will have to be done constantly, alternating between one and the other as the waves come at you non-stop. You will probably have a breather from time to time if the wave set has gone through (for ocean swell).
Windsurfing like this is not the problem, the problem is getting into the windsurfing position
As I tell every student of mine, once we are in the windsurfing position, counteracting the motion of the waves is not that hard to get the hang of as it is the same type of sail control that we need anyways in on flat water, just more exaggerated. The real problem is getting into the basic windsurfing position. I have explained how important it is to internalize the mast, feet boom sequence in my first post on how to windsurf.
Essentially, as long as the sail is touching the water, we have some resistance on which to hold on to and once we have both hand on the sail (one on the mast and one on the boom or both hands on the boom) we have control of our body position through the wind powering the sail. The problem is the split second in between these two stages.
As soon as the sail leaves the water, we are only dependant on our balance, which in the waves is not that easy to maintain. Therefore, our objective must be to overcome this balance phase as quickly as possible and get into the basic windsurfing stance. I describe the correct process in my first post on how to windsurf.
Look at the wave!
This may seem either like common sense or as something irrelevant but let me tell you, very few people actually do this. Once I actually get them to do as I say, they are able to see the wave and know at which moment to pull out the sail without getting hit by a wave in the most inconvenient time possible.
I hope this short guide to coping with waves has been helpful and that next time you get the board pulled away from under you, you at least know what is going on and (at least in theory) know what to do about it. It then just becomes a matter of learning to pull or let go in the correct moment and the correct amount.
Have you had trouble with waves making life difficult for you when windsurfing? Has this guide been useful to you? I would love to know how you get on.
Over the years I have been able to differentiate the 3 stages of sail control that people go through in windsurfing before one can say that they have control of their sail. I call them the step-dance, the hula-hoop and the windsurfer. They basically describe how you react to the changes in your body position that is affected by the wind and waves. I will go through these to help you determine at which stage you are at and what you need to do to get to the next level.
Level 1: The step-dance
This is the first stage. This stage describes the most natural reaction we have to getting pushed or pulled around as is the case on a windsurf board in the early attempts. Every change in our body position is corrected by moving our feet around. So if a gust hits us we get pulled forward and to compensate that displacement we move one foot or another. Good thing that we start off with a big, wide board. Overcoming this stage is the greatest limiting factor to being able to move to a smaller board.
Level 2: The hula-hoop
Once we learn to feel the changes in the sail pressure and our body position sooner we no longer need to move our feet. However, while we keep the feet in place, we still haven’t got the reaction to a gust or a lull down fast enough and so we move the hips either forward or backward to maintain the centre of gravity over the buoyancy of the board. In this stage we are still using the sail only for forward propulsion and not yet for stability.
Level 3: The windsurfer
The final stage and the way we should be windsurfing. People that have reached this level are easy to spot as they show no hectic movements on the board. As the gust hits them the simply sheet out in time to release some of the wind pressure in the sail so that they don’t get pulled over. They may even lean back with a straight body and sheet in to use the extra power.
So there you have it, the three stages of sail control that I have been able to differentiate. It is one more aspect that I can point out to students to show them that they are progressing when they feel that they haven’t improved. If you have any other subtle differentiation that you have noticed I would like to read of it in the comments.
One of the most elegant maneuvers if done right is the fast tack. A smoothly carried out tack on a sinker board with an upright body position throughout the move is pretty impressive, especially in waves. When the pros do it, it looks like they teleport onto the other side in the blink of an eye. Let’s have a look at how it is done.
First off, I think it is important to remember that this is a move that we should tackle step by step. Just because you are able to plane and gybe on an 80 litre board, doesn’t mean that you should be trying to learn the fast tack on it. Start with bigger boards and move down. It may seem like a nuisance to have to go back to 120 litres on a day that you would be able to sail on 100 litres but trust me, the extra volume will forgive you a lot more of the many mistakes and missteps that you are going to undoubtedly make during the first 50 attempts. Only once you have it down on bigger boards does it make sense to master it on the next size down. This small piece of advice, when followed, will save you a lot of frustration. Trust me.
That’s my two cents out of the way, let’s talk technique.
Speed
We are trying to get through the wind on a board that sinks when not planing. This means that we must do most of the footwork while we are planing. Make sense? Good, let’s move on.
Luffing up
At speed we will move the front hand close to the mast and the front foot in front of the mast foot. Just like with the beginner board tack, we want to set ourselves up so that the amount that our feet have to move is as small as possible. The more steps we need and the further we need to move our feet, the more time we will require. Time during which the board slows down and sinks.
Make sure that your weight is over the front foot. As we turn into the wind we will be trapped on the old side of the sail if the weight is on the back foot. Keeping the weight on the front foot will keep the board horizontal (so we don’t lose speed due to the back of the board being pushed down) and it allows our feet to change position under our body. If our body weight is offset from where our feet hold us over the board, we will topple over as soon as we try to move our feet.
Get on the other side of the sail
Before the board is in the wind, jump on the other side, the back foot replacing the front foot and the hands getting on the other side of the boom as quickly as possible (it is important to keep the clew close to the water so that the feet have more space to move).
Speed is key here. The faster we get on the other side, the more steady the board will remain. When I get asked about the secret of the fast tack I always reply: Fast feet!
Small tip:
In choppy water or waves, be sure to choose the moment on the top of the wave or chop. This will provide you with a moment of weightlessness during which you can move on to the other side of the sail without having your board be pushed around under you.
Continue a little on the lee side
We can remain on the lee side for a few metres, mainly to get our balance sorted out. This time frame will get reduced naturaly as we get better. Although I admit that one of the things I find elegant about the fast tack is continuing on the lee side for a second or so before going through the wind but that’s just my opinion.
To achieve this it is important to keep the front arm straight and controlling the power that is pushing us up only with the back hand. If we need more power we can always bring the front arm closer and bend our knees but it is very hard to get the sail down again once we are vertical on the board with the sail pushing against us horizontally as opposed to us laying on the sail and the wind pushing us upwards. The second scenario provides us with a greater buffer to react to gusts, etc.
Turn through the wind
Push with the back hand while keeping the sail low (try to push the clew along the water surface. If the sail is pushed into the wind with the sail too high we will just bear away and get pushed over by the sail.
Bear away on the new side
As the board turns through the wind we can bring the mast forward and sheet in on our side to bear away on the new tack
Start planing again
Be ready to sheet in and lean back. As the board bears away, push with the front foot into the board and pull the back of the board under your body with the back foot. Once it is on a broad reach get the board planing again.
To recap.
Start by planing
Luff up into the wind with the front foot in front of the mast foot and the front hand close to the mast
Keep your weight over the front foot
Get on the other side of the sail
Make sure you are stable on the new side by controlling the power with the back hand and keeping the front arm straight
Turn through the wind by pushing the clew towards the wind while keeping it close to the water
Bring the mast over the front of the board and sheet in to bear away on the new side
Push into the board with the front foot and pull the back foot under your body to start planing again
I don’t know how many feet I have looked at in the last few weeks. No, I don’t have a foot fetish… sorry to disappoint 🙂
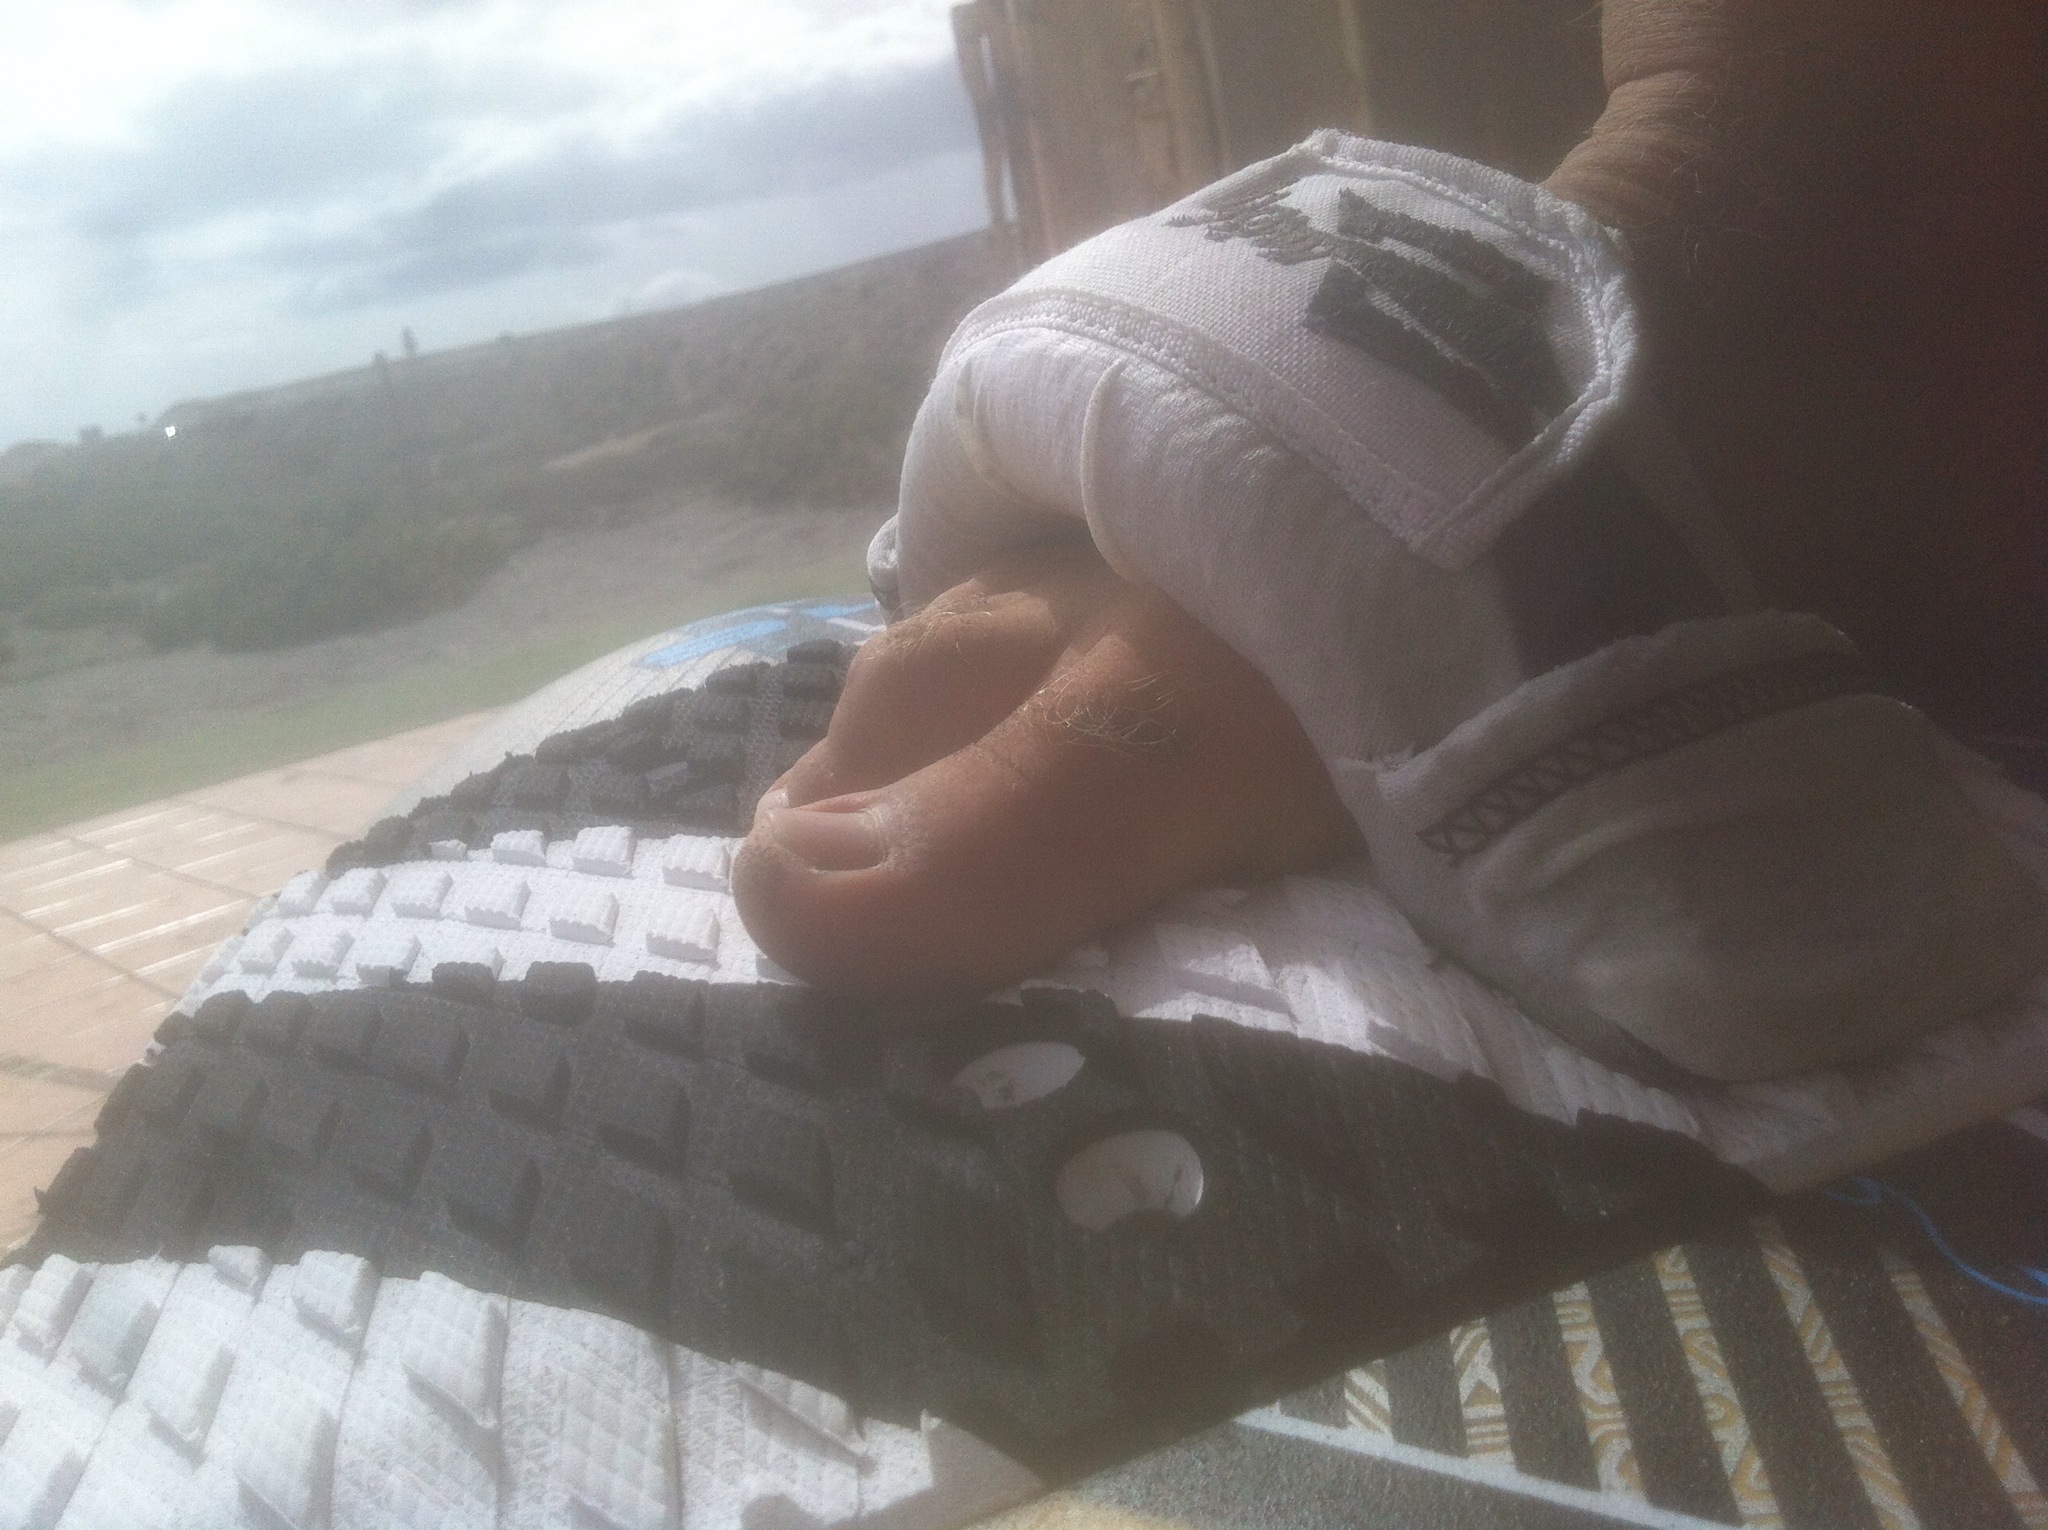
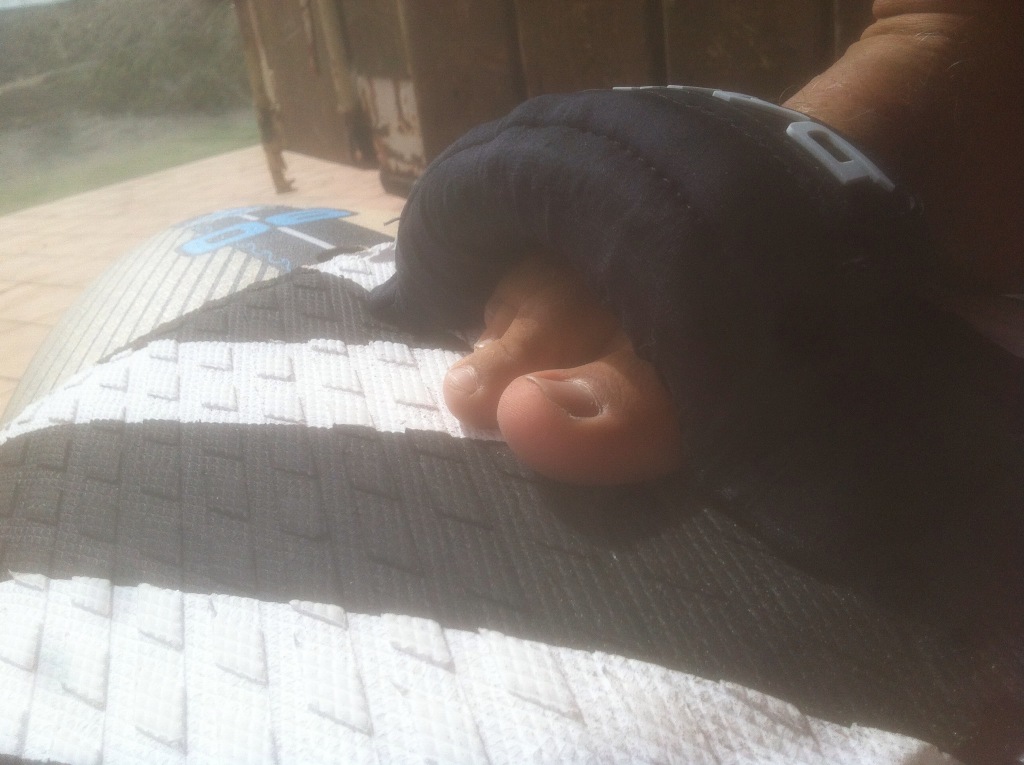
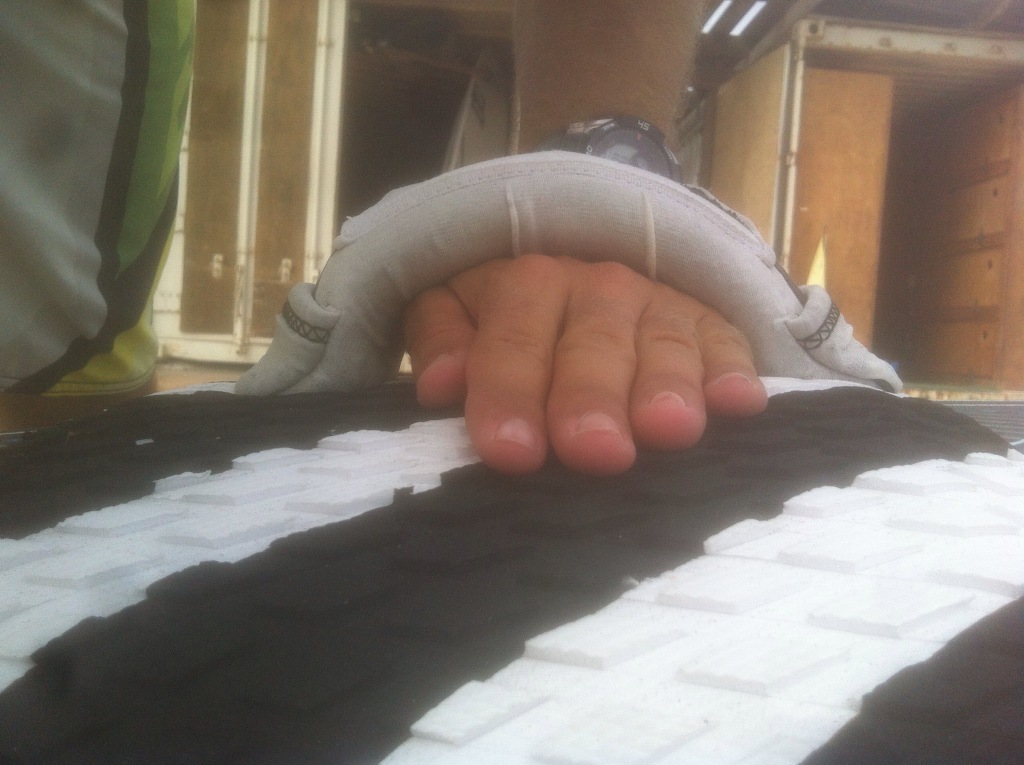
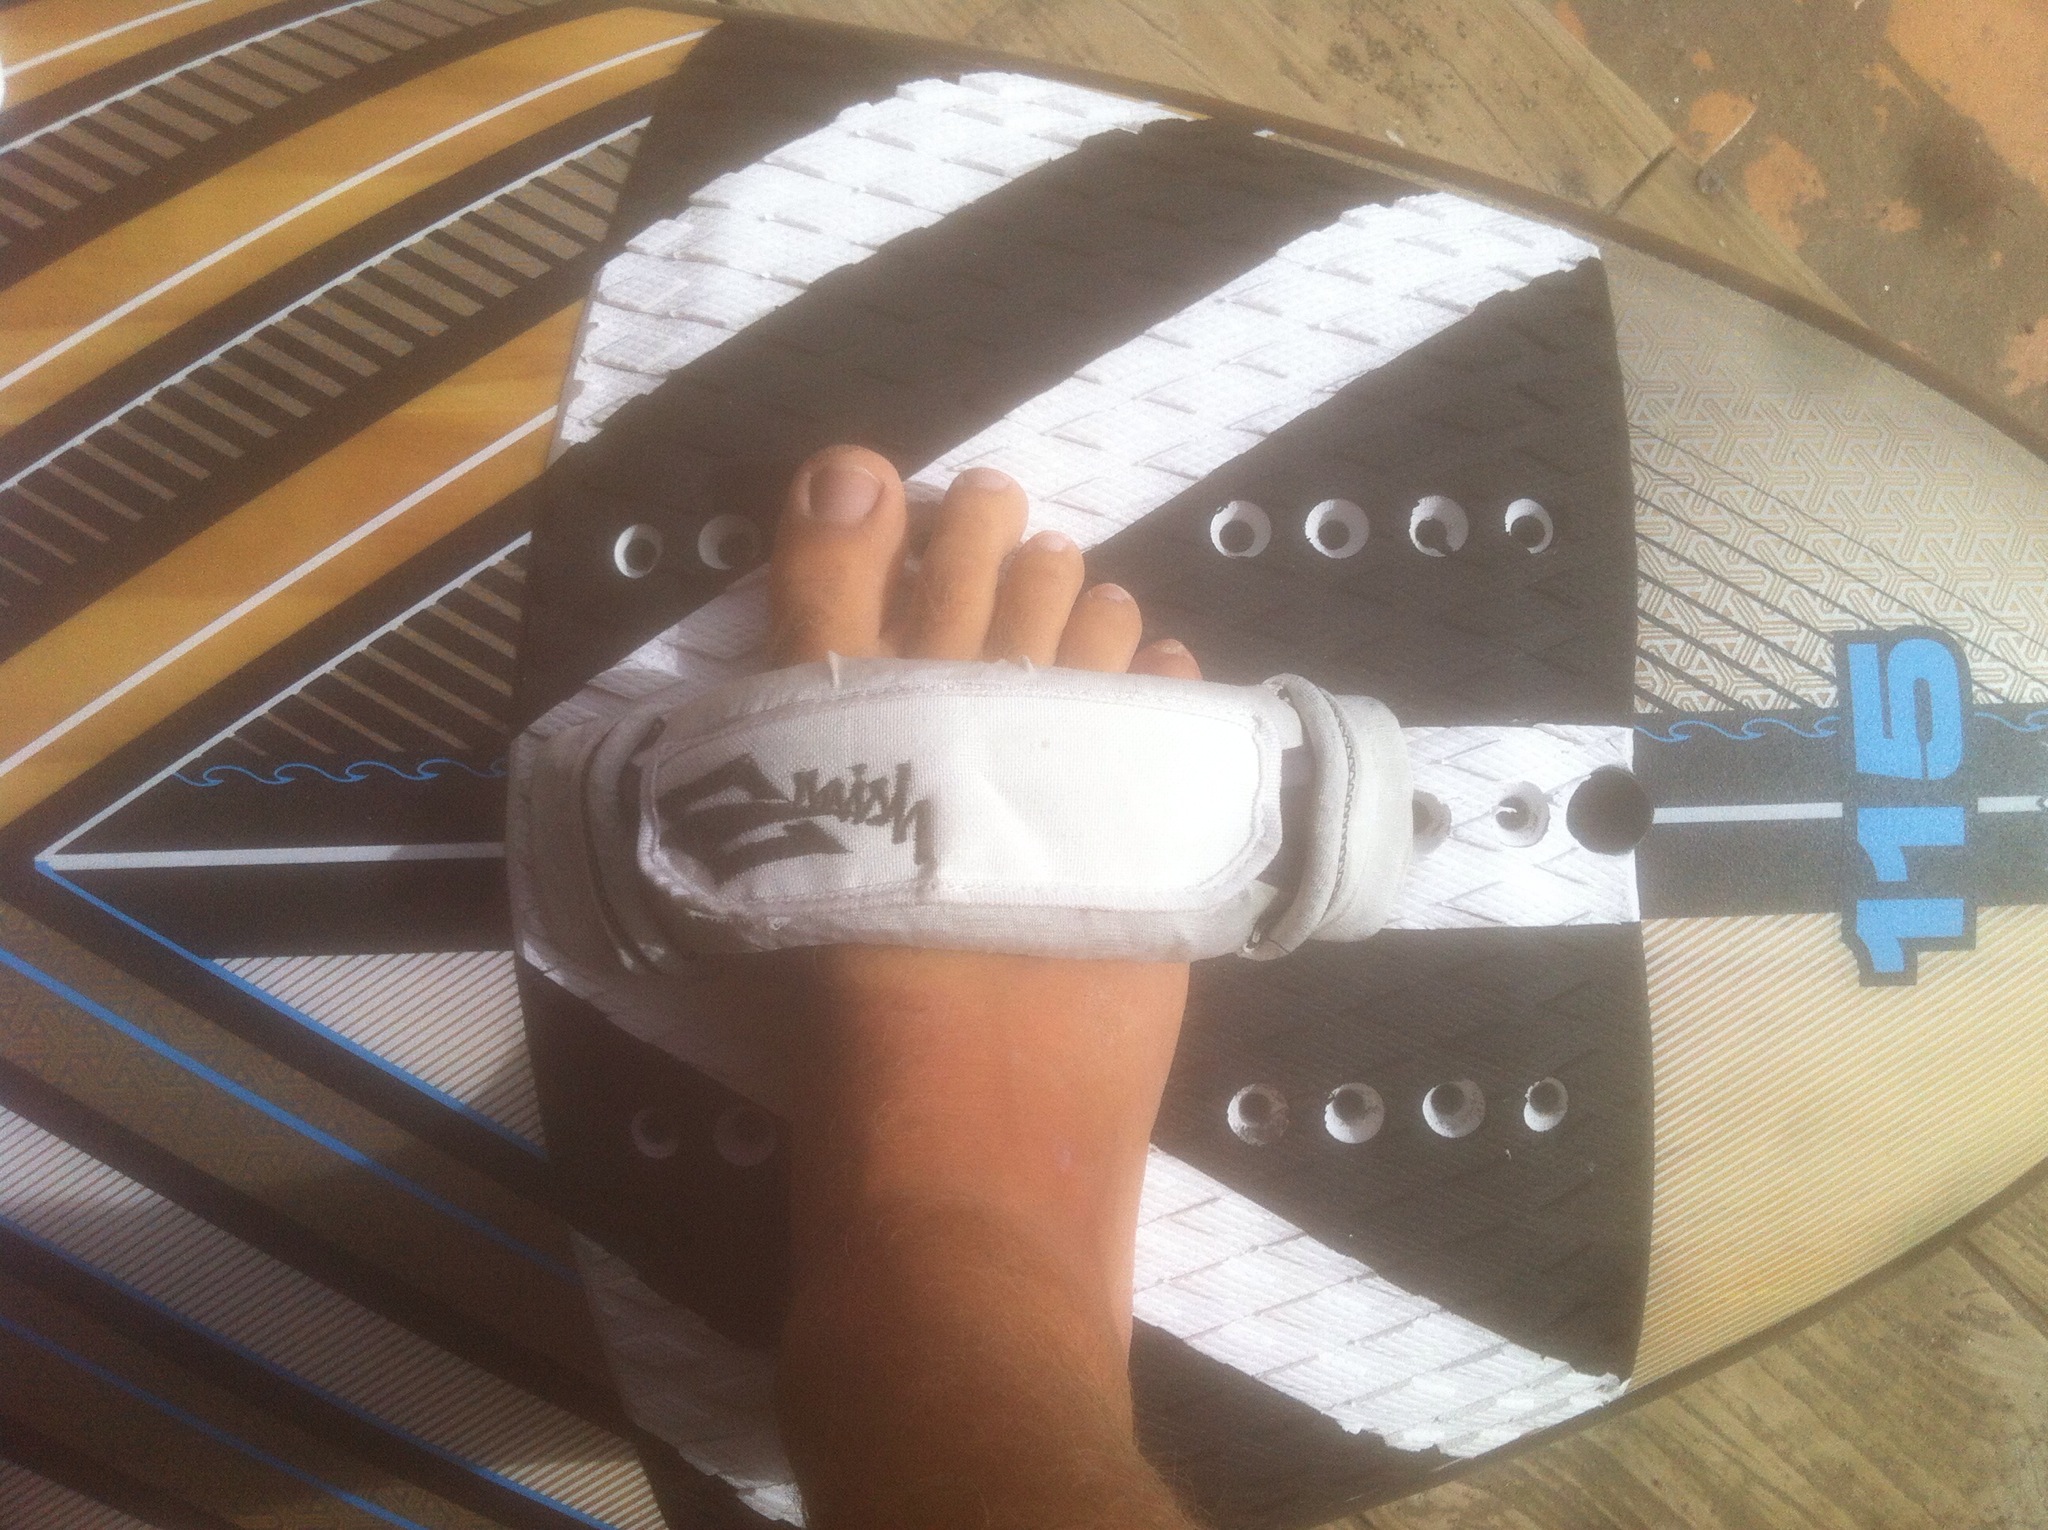
No, it was because I was asked if the foot straps were the right size. So here is my take on how big/wide the straps should be.
Foot Strap Screw Placement
When you put your foot in the straps, the sides should be touching. Not too tight as you want to be able to get in and out easily. Also, you don’t want them too wide. I have seen many who have them too wide and to make up for them being too loose they have to set them up very tight so as to only allow the toes to fit.
Foot Strap Width
You want about half your foot to fit in the strap. The idea is to be able to get in and out easily when you want but also to stay in securely when you need it. The consequences of them being either too wide or too narrow are both very unpleasant.
Too wide
If the straps are too wide we risk two things. The first is not that problematic: being pulled out in a catapult. The second is pretty dangerous as if the strap is too wide we can end up with the entire foot slipping through the foot strap be it after a sideways landing of a jump or too much pressure on the back foot in choppy water. In that case I would definitely prefer a spin out.
Too narrow
If the straps are so tight that we barely get our tows in we lose a lot of control over the board on one hand, and lack of security against catapults on the other. The first is due to the fact that we can’t lever the board with our foot to keep in flat as we could with a wider foot strap. The second come front it being really difficult to resist the pull of the sail with only our toes as opposed to the whole foot. It is like wanting to do pull-ups with only your fingers instead of with the entire hand.
Ultimately the straps should fit around the foot nice and snug. As a rule of thumb, place your hand in the strap and have it fit loosely. This is a good width to start off with. I would begin with the straps being a little too tight and try going wider and wider after each tack until you find the width that you feel the most comfortable with.
Every couple of weeks, usually towards the end of the day, we get a windsurfer walking up to the center desperate to get a few strong hands together to help him with his mast that just wont come apart.
Storing a full length mast or driving around with one is a nightmare. On top of this we usually don’t find out about the stuck mast until we are going to head home at the end of the day which is usually when there are less people left to help us on the beach.
Why does it get stuck?
Before we put the two pieces together, grains of sand and dirt can get on the surfaces where they join. When we try to get them apart after a session on the water we notice that they are stuck. Even if we put the mast together completely clean, in the water there is sand, mud and dirt which gets in through the slot where they connect.
Prevention
The best solution is preventing the mast from getting stuck in the first place. We do this by keeping the shaft and the inside of the mast clean, prefferably with soapy water and a clean cloth right before putting it together. Once the two pieces are together, put duct tape (or equivalent) over the point where they join. This will prevent any sand getting in on the water.
NOTE: I have no experience with camber sails but from what I have read this duct tape solution doesn’t work for cam sails. Check out Rogers post towards the end.
To get the mast unstuck
That’s all nice to know but what if you already have the problem? That is probably why you are reading this post in the first place. Well, do not dispair, there are a couple of tricks that you can apply.
Lubricants
Puring soapy water or oil over the opening and letting is settle in a little bit can loosen all the dirt inside. In order to get it as far in the mast as possible, bend the mast in various directions so that the liquid can seep in properly. You will properly have to do this a couple times.
Bending the mast
To bend the mast, find two points that are a little bit elevated and bounce the center of the mast as much as you can. After 15 minutes of this you can give it another try.
Two booms of doom
Another sneaky solution is to attach a boom on each side of the joint and to use the extra lever to turn the pieces in opposite diretions. This techique is criticised as it is said to possible damage the mast. Therefore the next method is suggested.
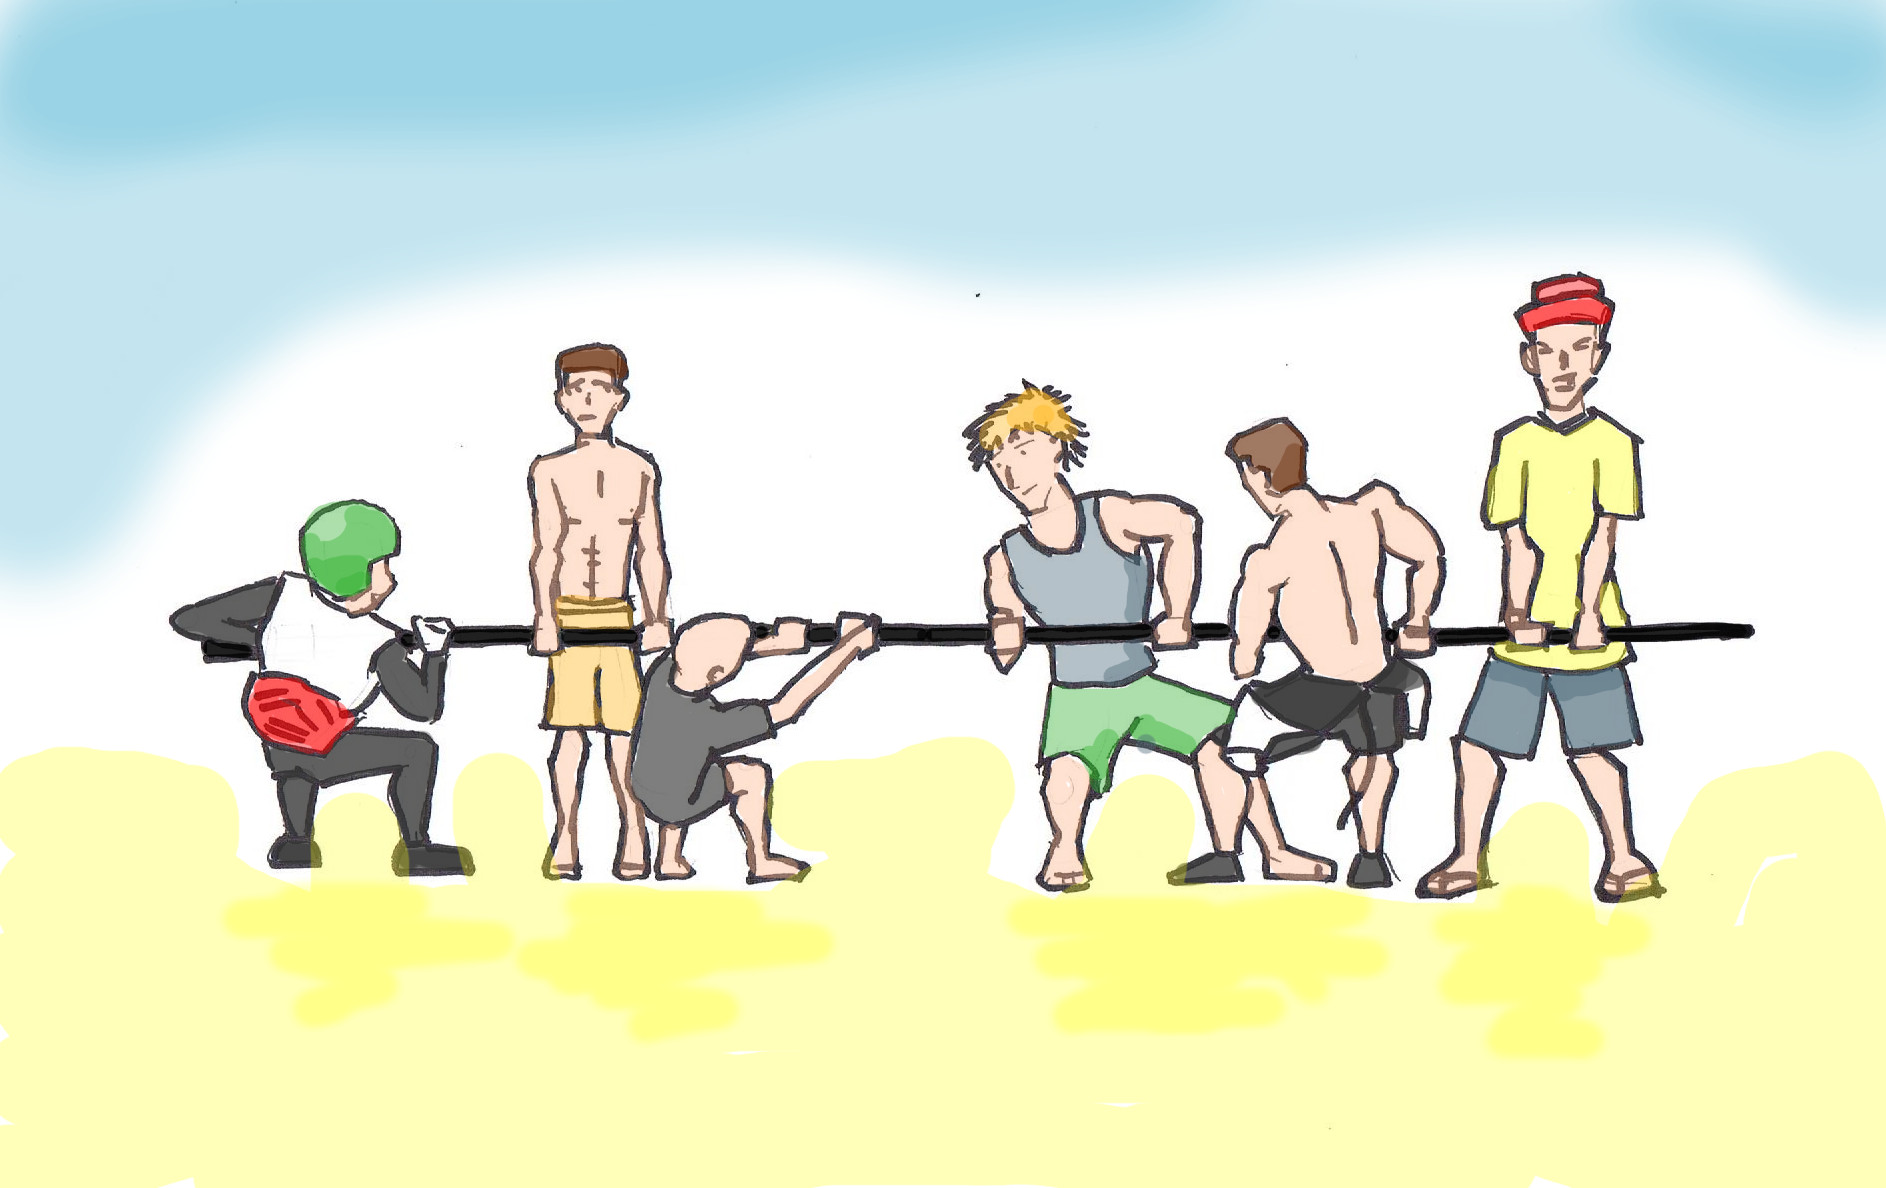
Tug of war
Get as many strong hands onto each side of the mast as you can find and have everyone turn the mast ends in opposite directions (as in each side turing clockwise or both anti-clockwise). If it doesn’t work in one direction don’t immediately dispair. Try out turning it in the other direction for a couple of senconds and switch back to the other side and alternate a few until it comes apart. Usually 3 or 4 attempts will do the trick if not less.
As a fun anecdote, my dad once won a crate of bubbly on a bet that he could get a mast apart. To be fair he had 28 windsurf teacher apprentices who all got together, fitting as many hands on the mast as physically possible and after two attempts of everyone turning counter-clockwise and them clockwise they finally got it apart to the crunching of sand grains.
Other methods
There have been heaps of discussions on forums providing ideas and suggestions. In one they talk about the “Sword in the Stone” (of King Arthur) equivalent of masts. Another one that is interesting is to fill the mast top with water from a hose.